
I love fall. And I am totally not ashamed to admit that I get pumpkin obsessed during it… How can you not? They are a fall staple! And crafting during the fall is as well. There is just nothing quite like making all kinds of pretty handmade holiday decorations while your all cozy and warm inside your home. And I seriously love how these little itty bitty pumpkins turned out! They are just the cutest. Here’s how I made them! And turned them into a fun fall garland.
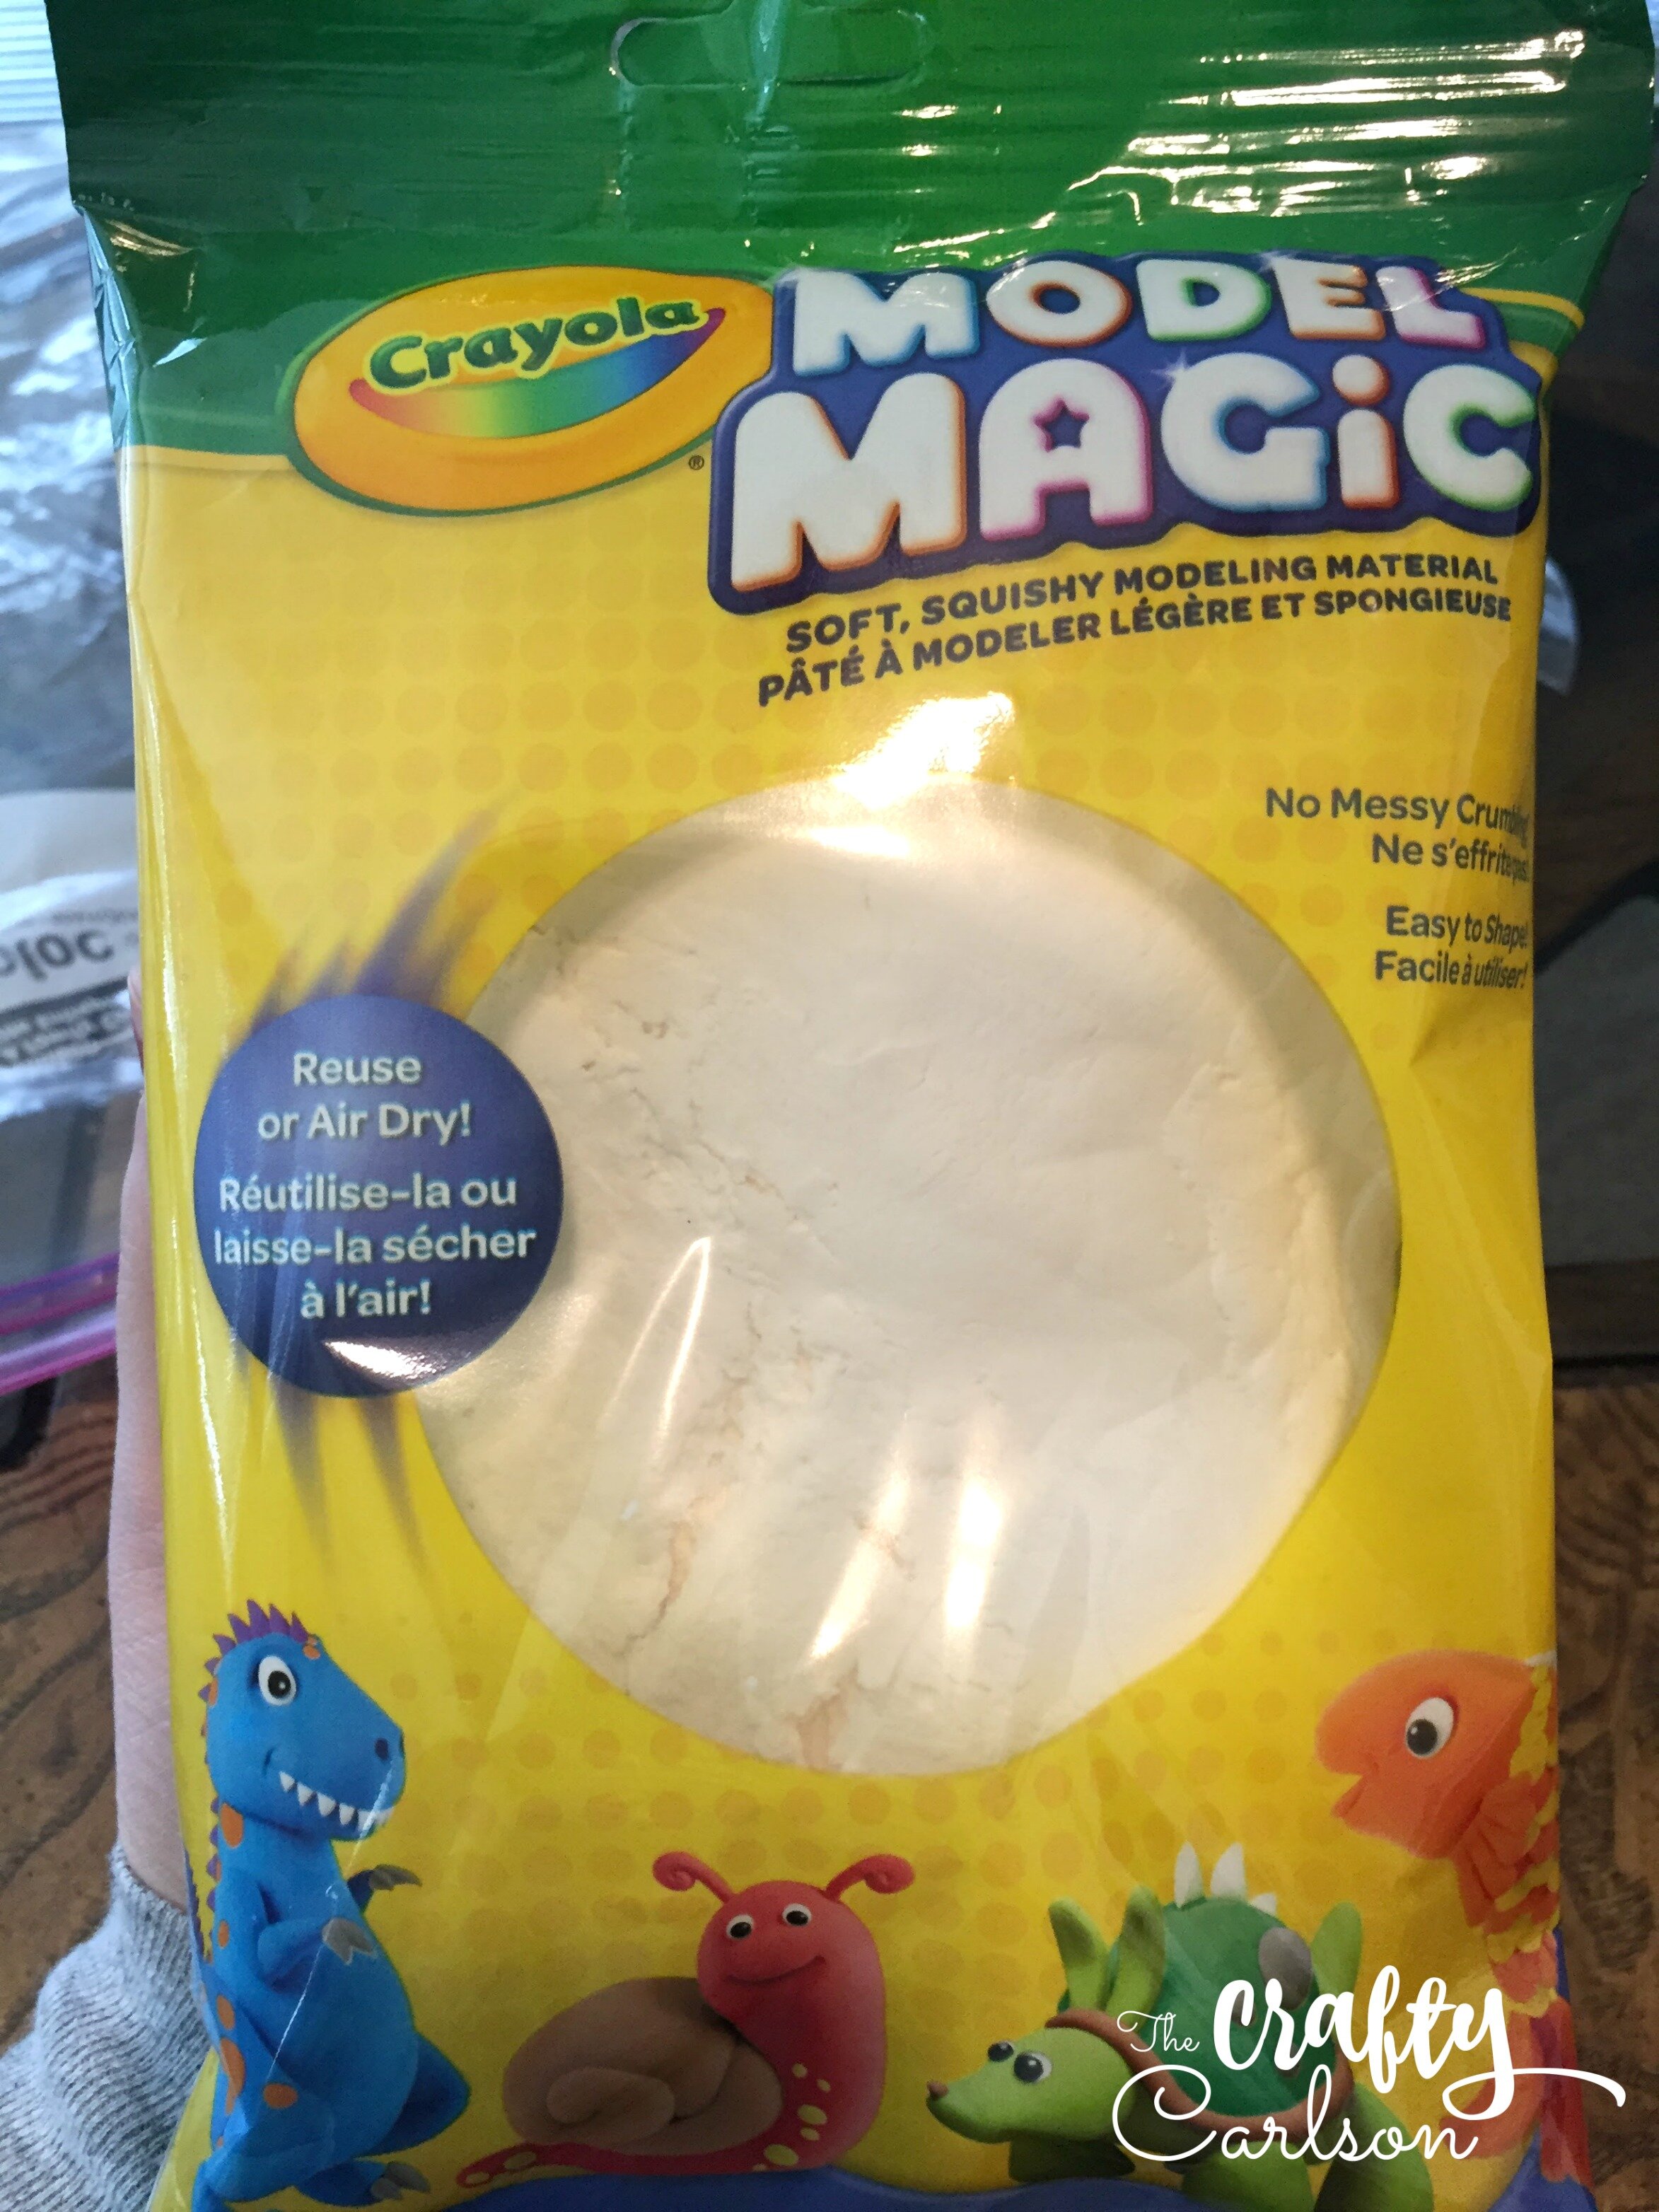
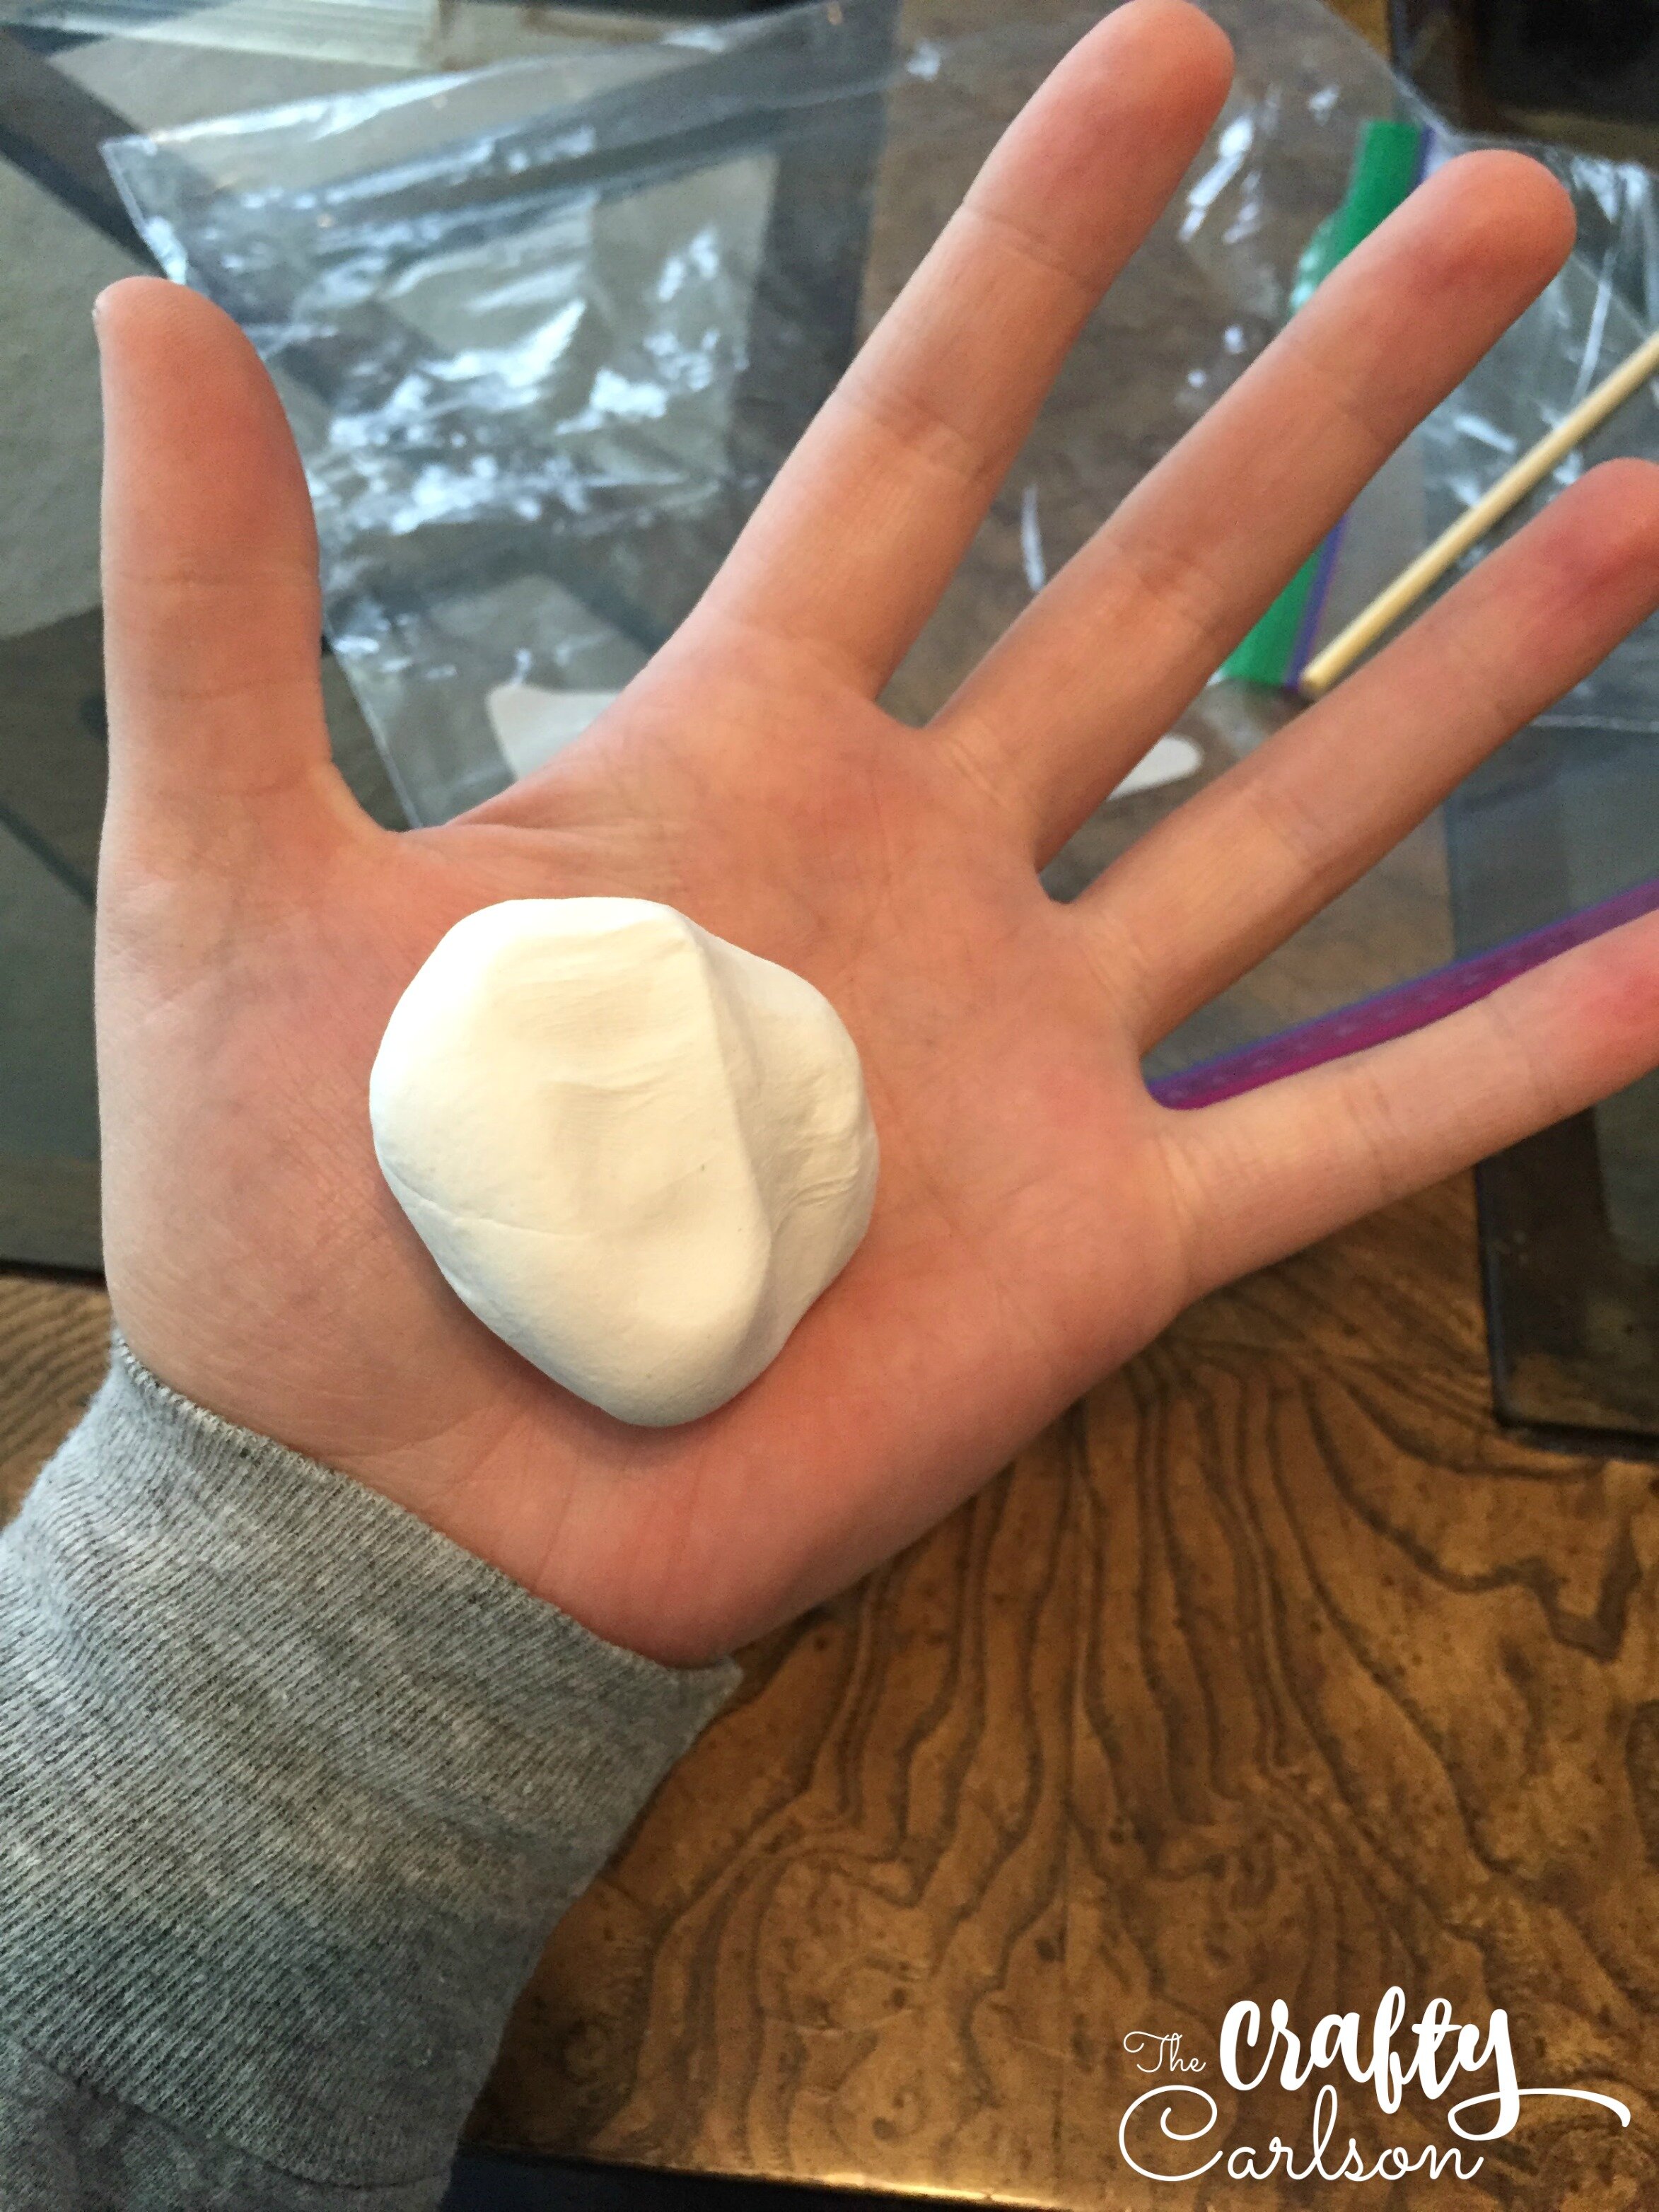
First you will need to get some air-dry clay. I just used the Crayola Model Magic! It’s super fun and so soft. I could honestly just play with it like play dough!.. ha! So, resist the urge to just mess around with the clay and get a glob about the size you will want your pumpkins to be.
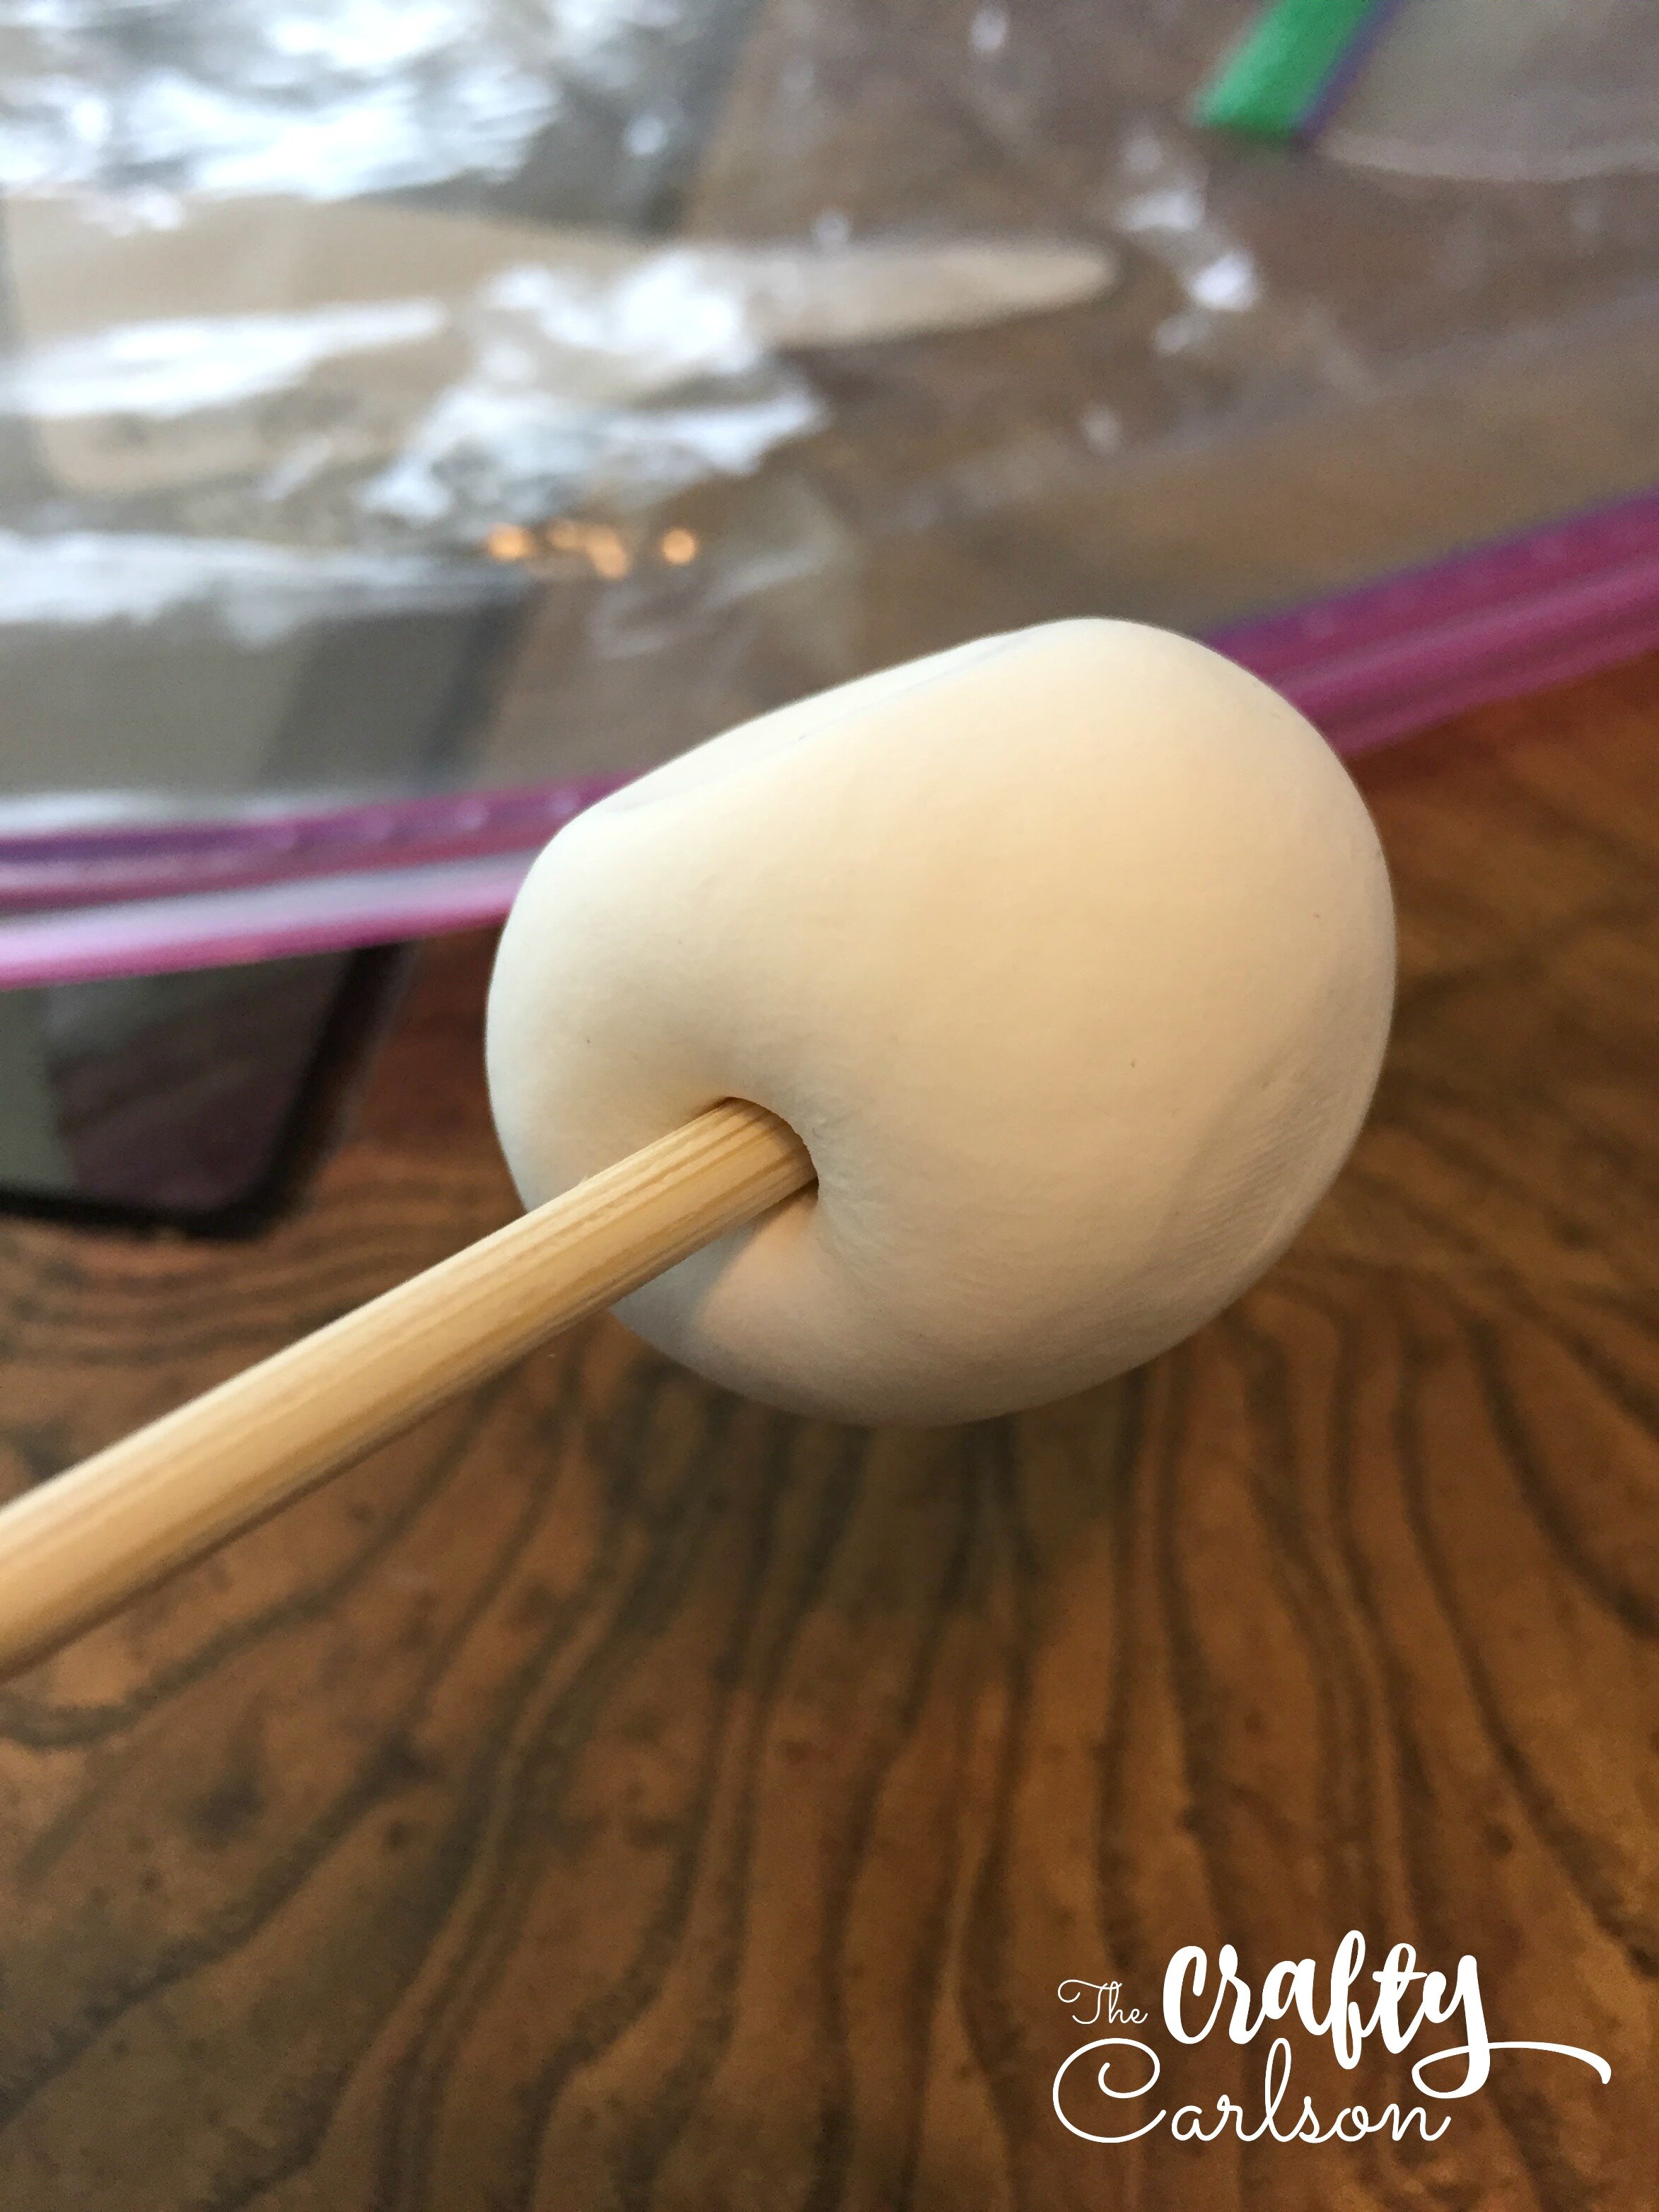
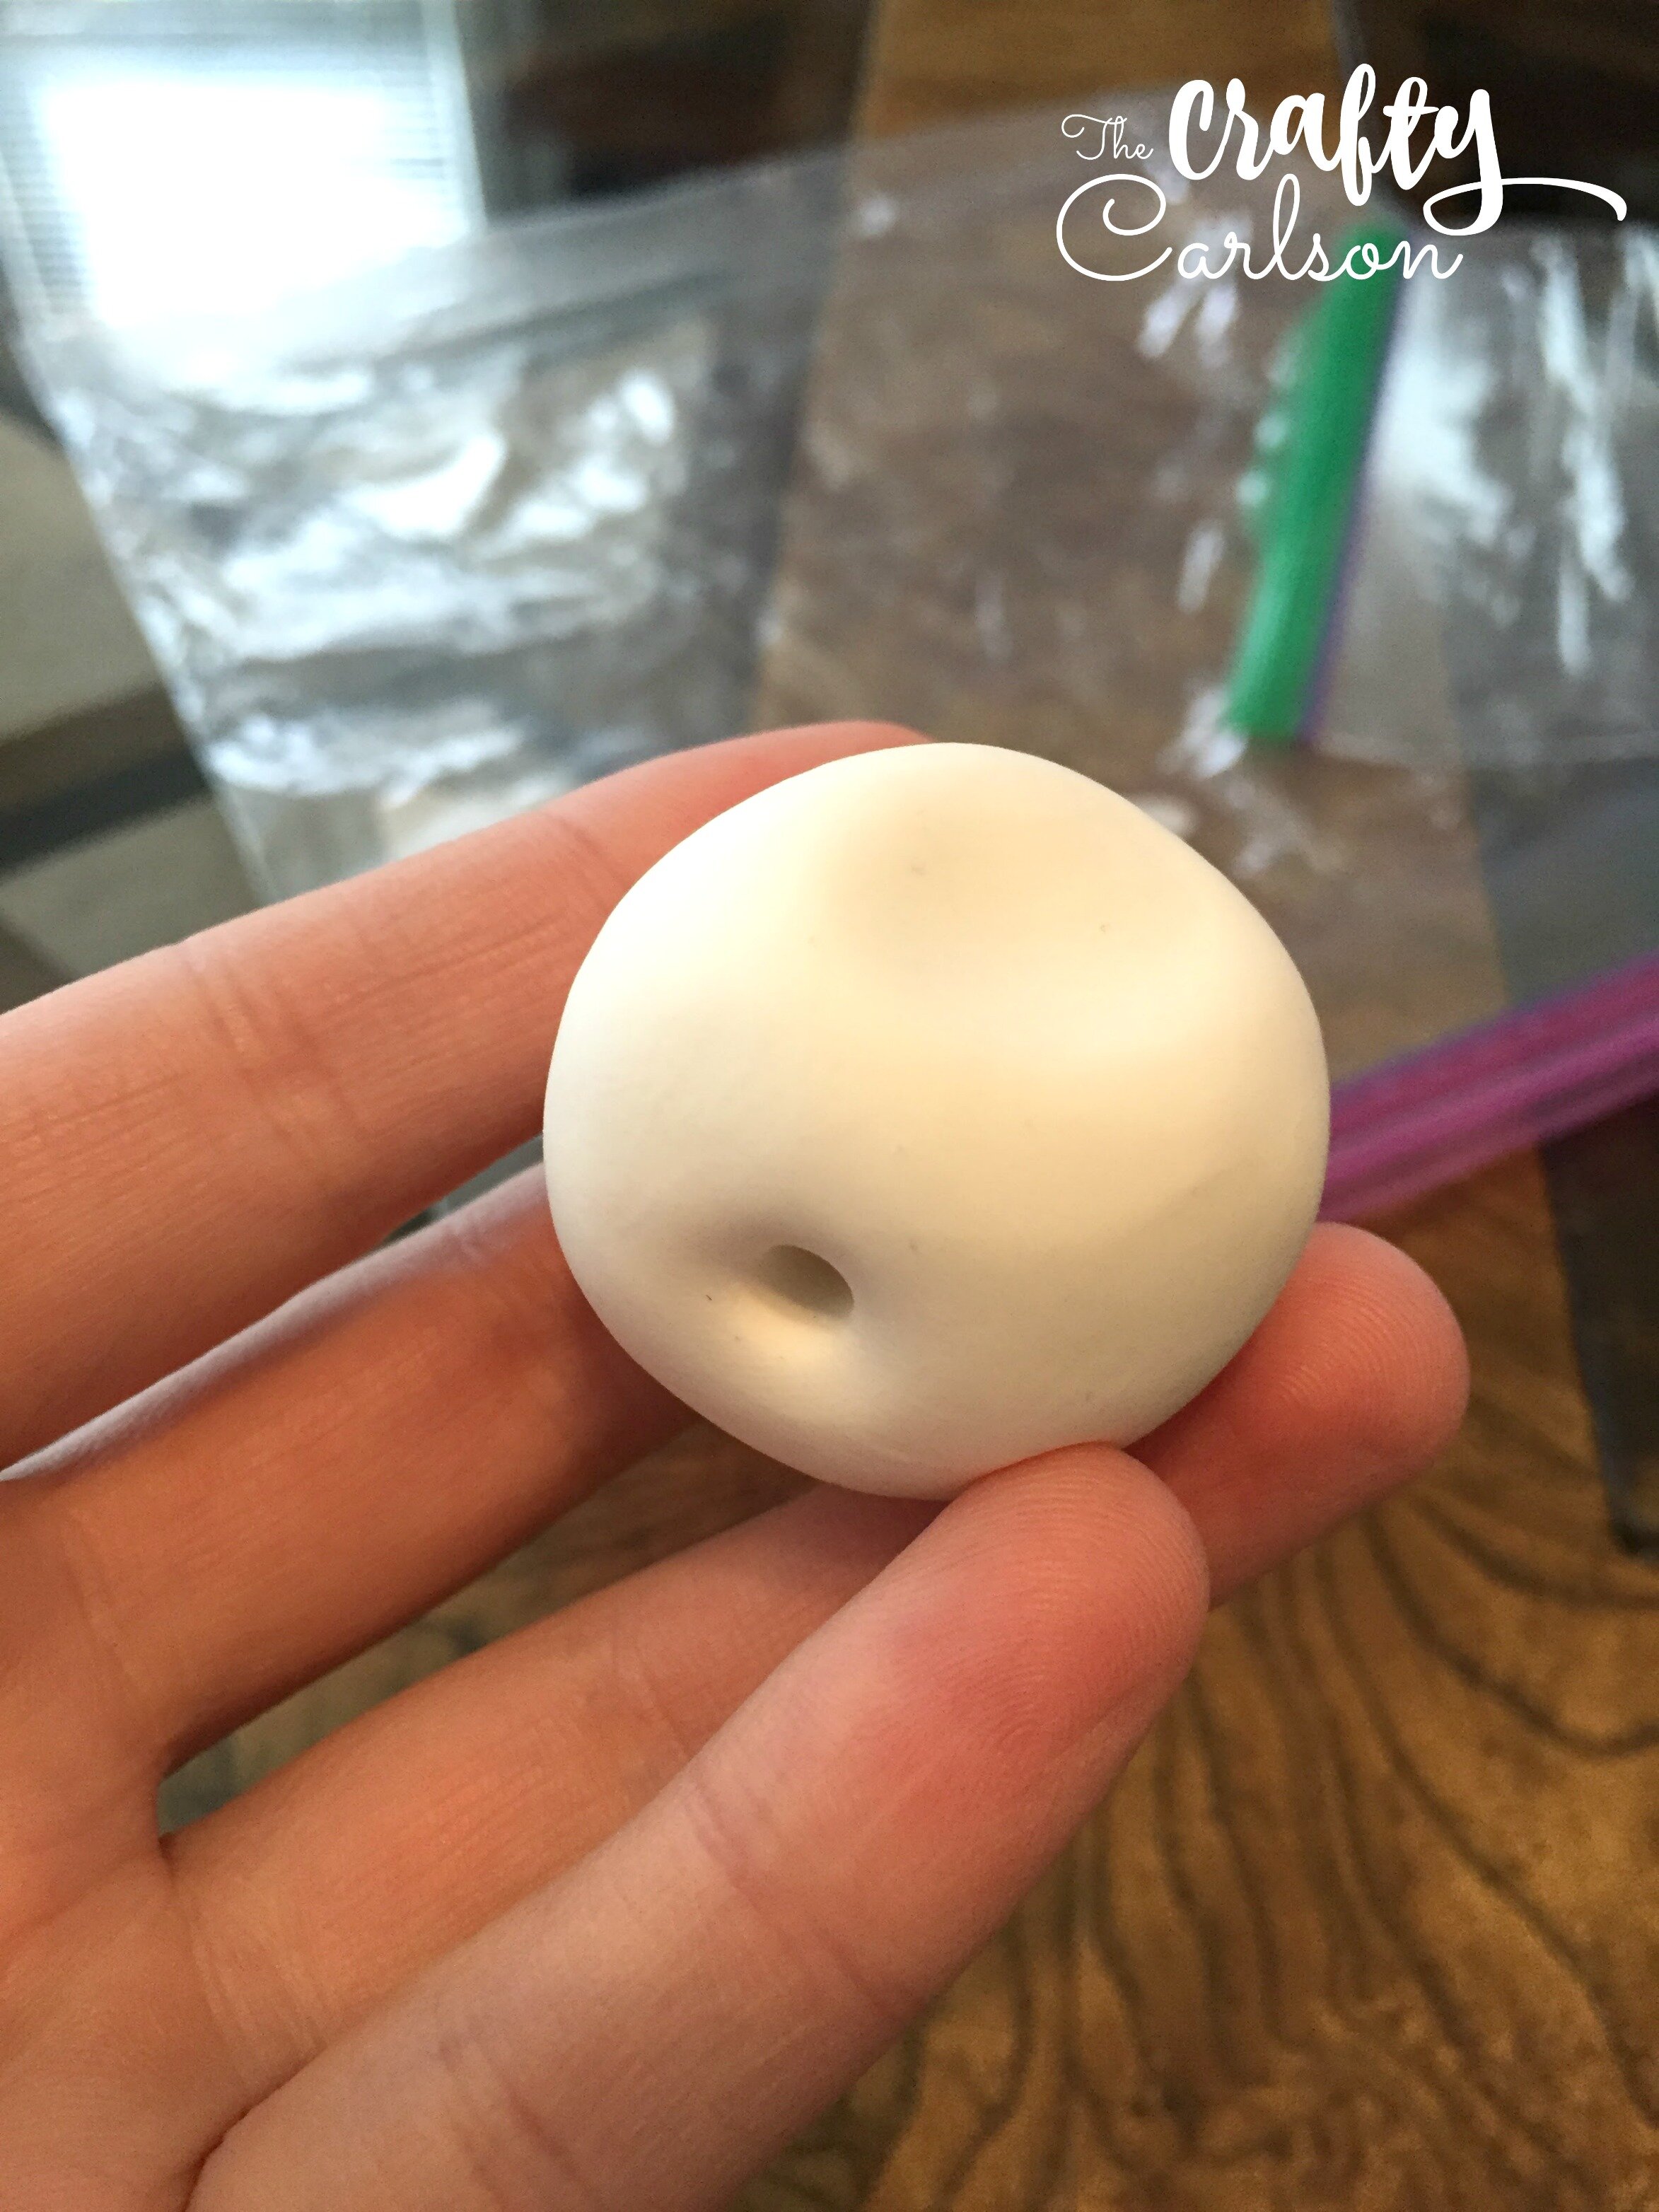
Roll your glob into a ball and use a wooden skewer to pierce a hole through the ball. The easiest way to do this is to stick the skewer in and go all the way through until you see it barely poking out the other end. Take the skewer out and go back in on the other side. That way you will have nice and evenly indented holes on both sides of the pumpkin. Then, take your fingers and just make little indents on the top and bottom of the ball.
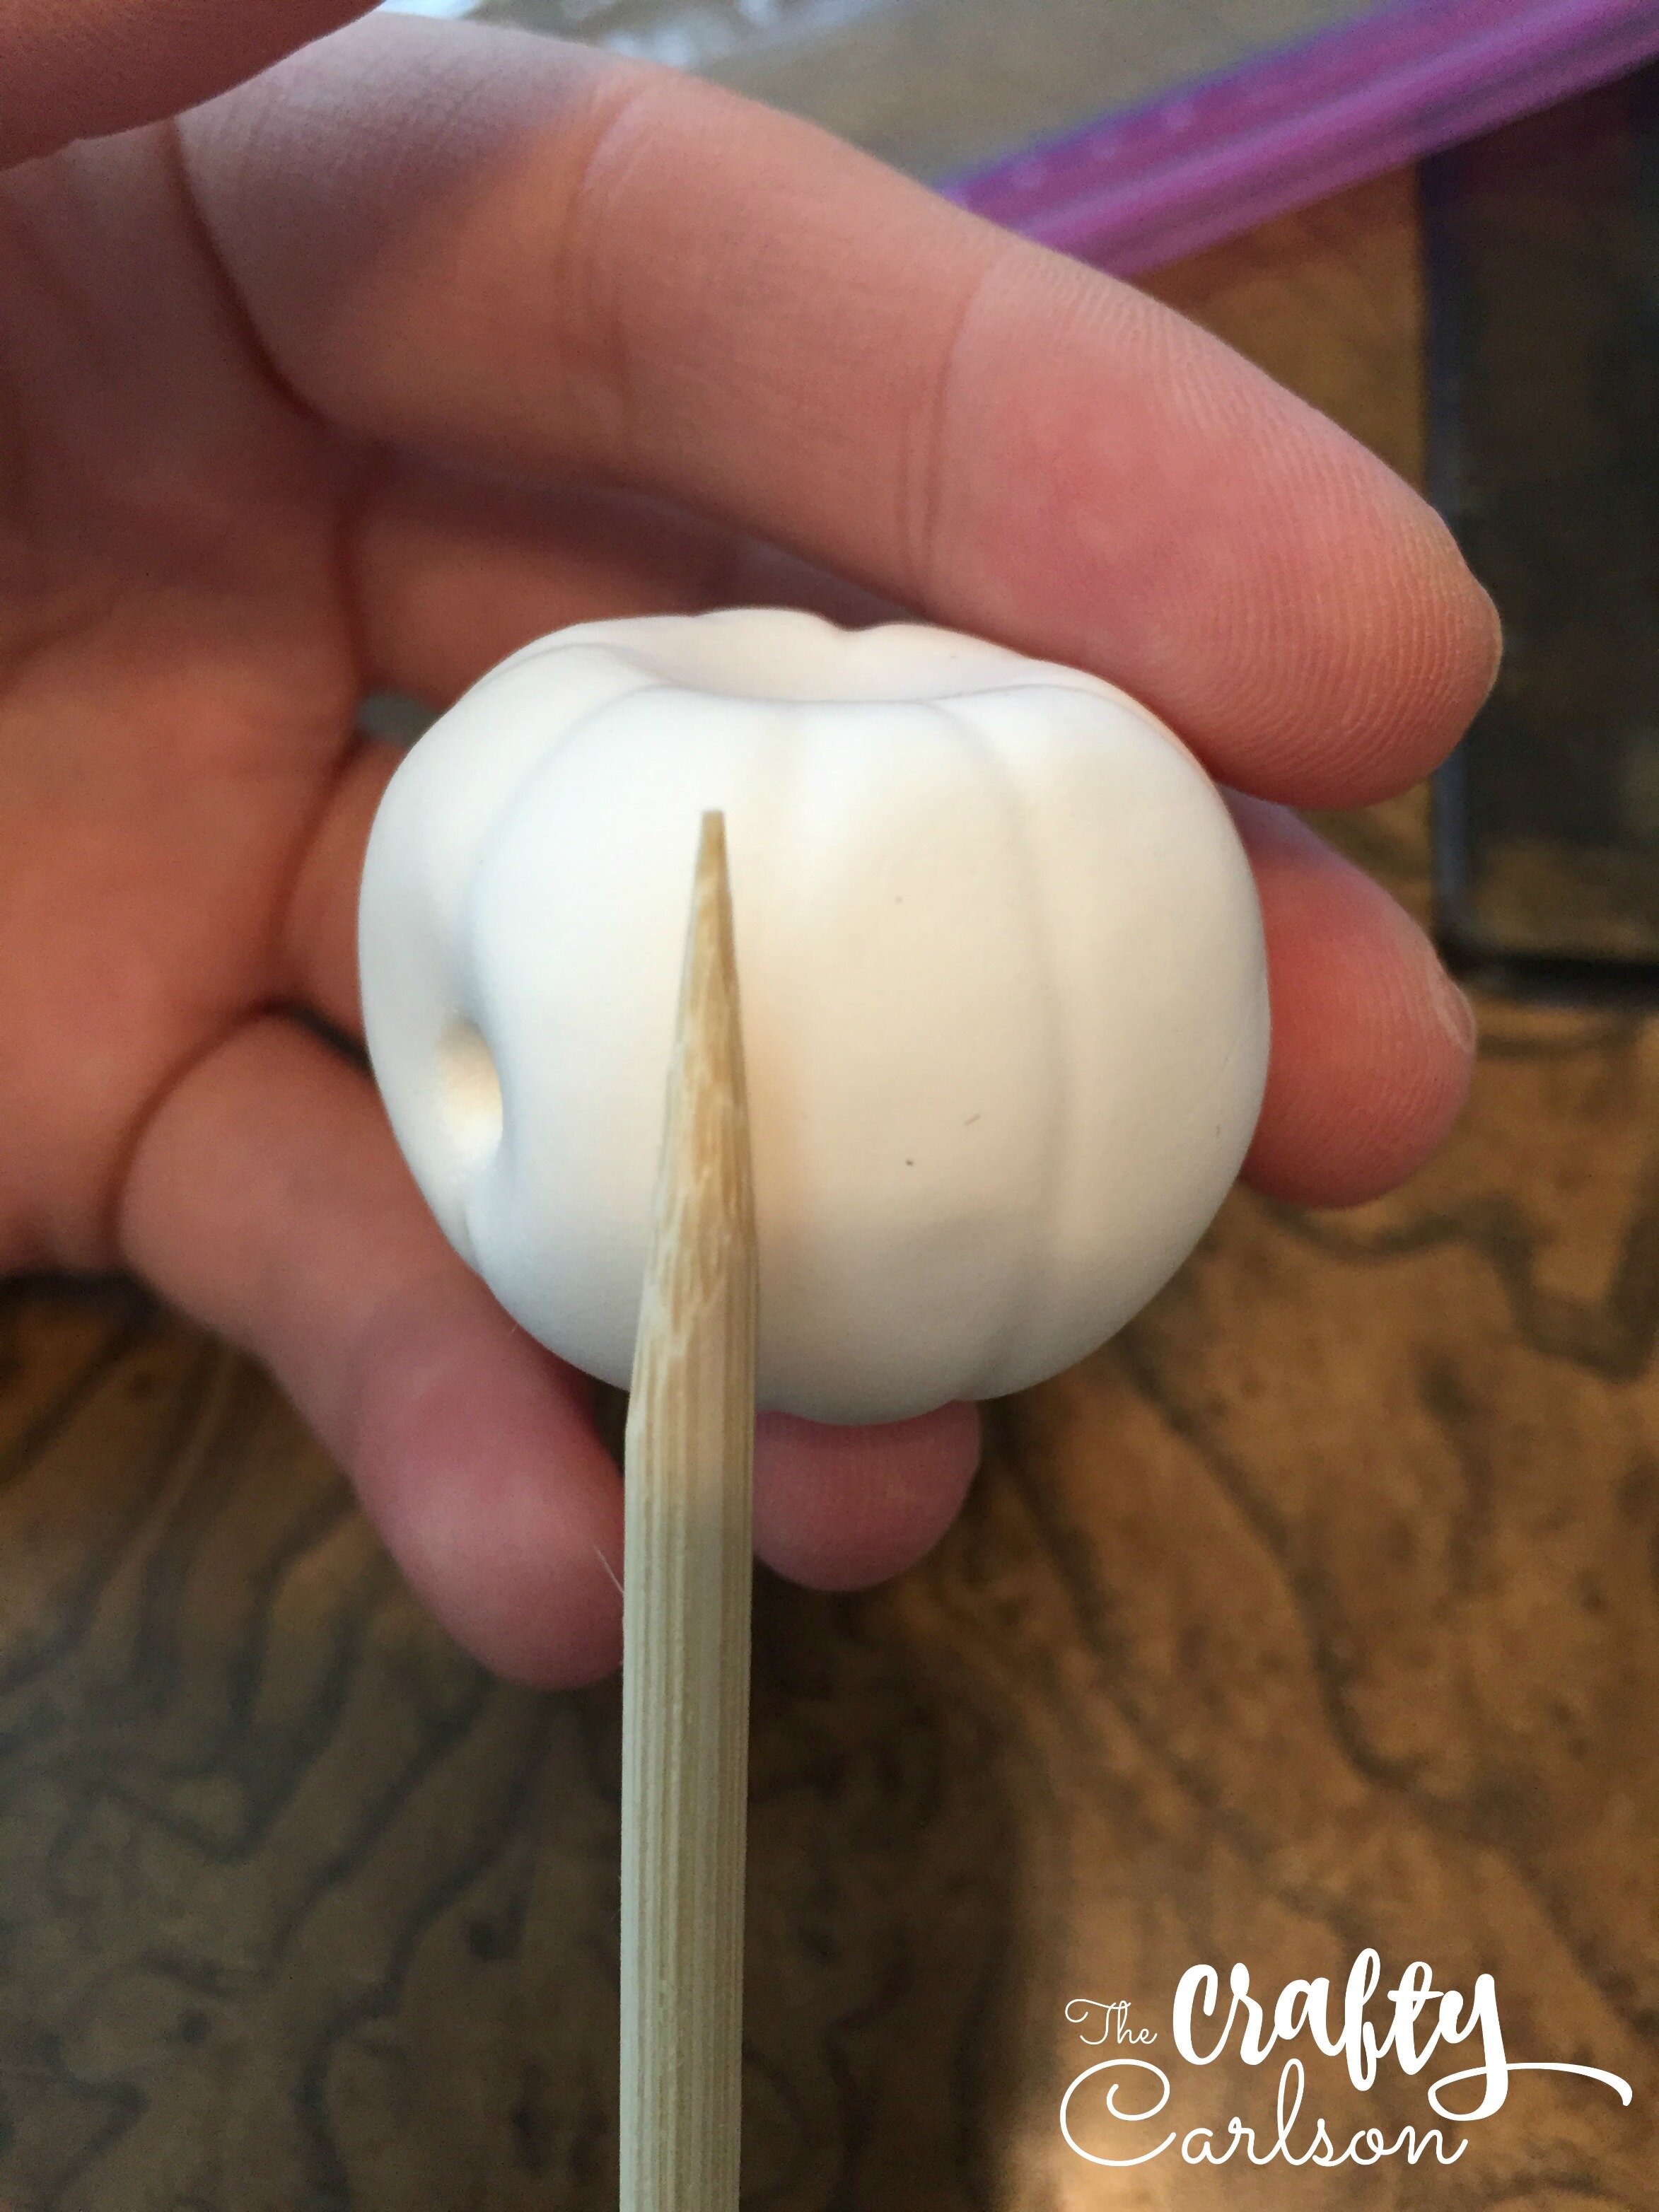
Now you will need to make the little curves of the pumpkin. I just used a skewer and rolled it lengthwise down the sides of the clay ball.
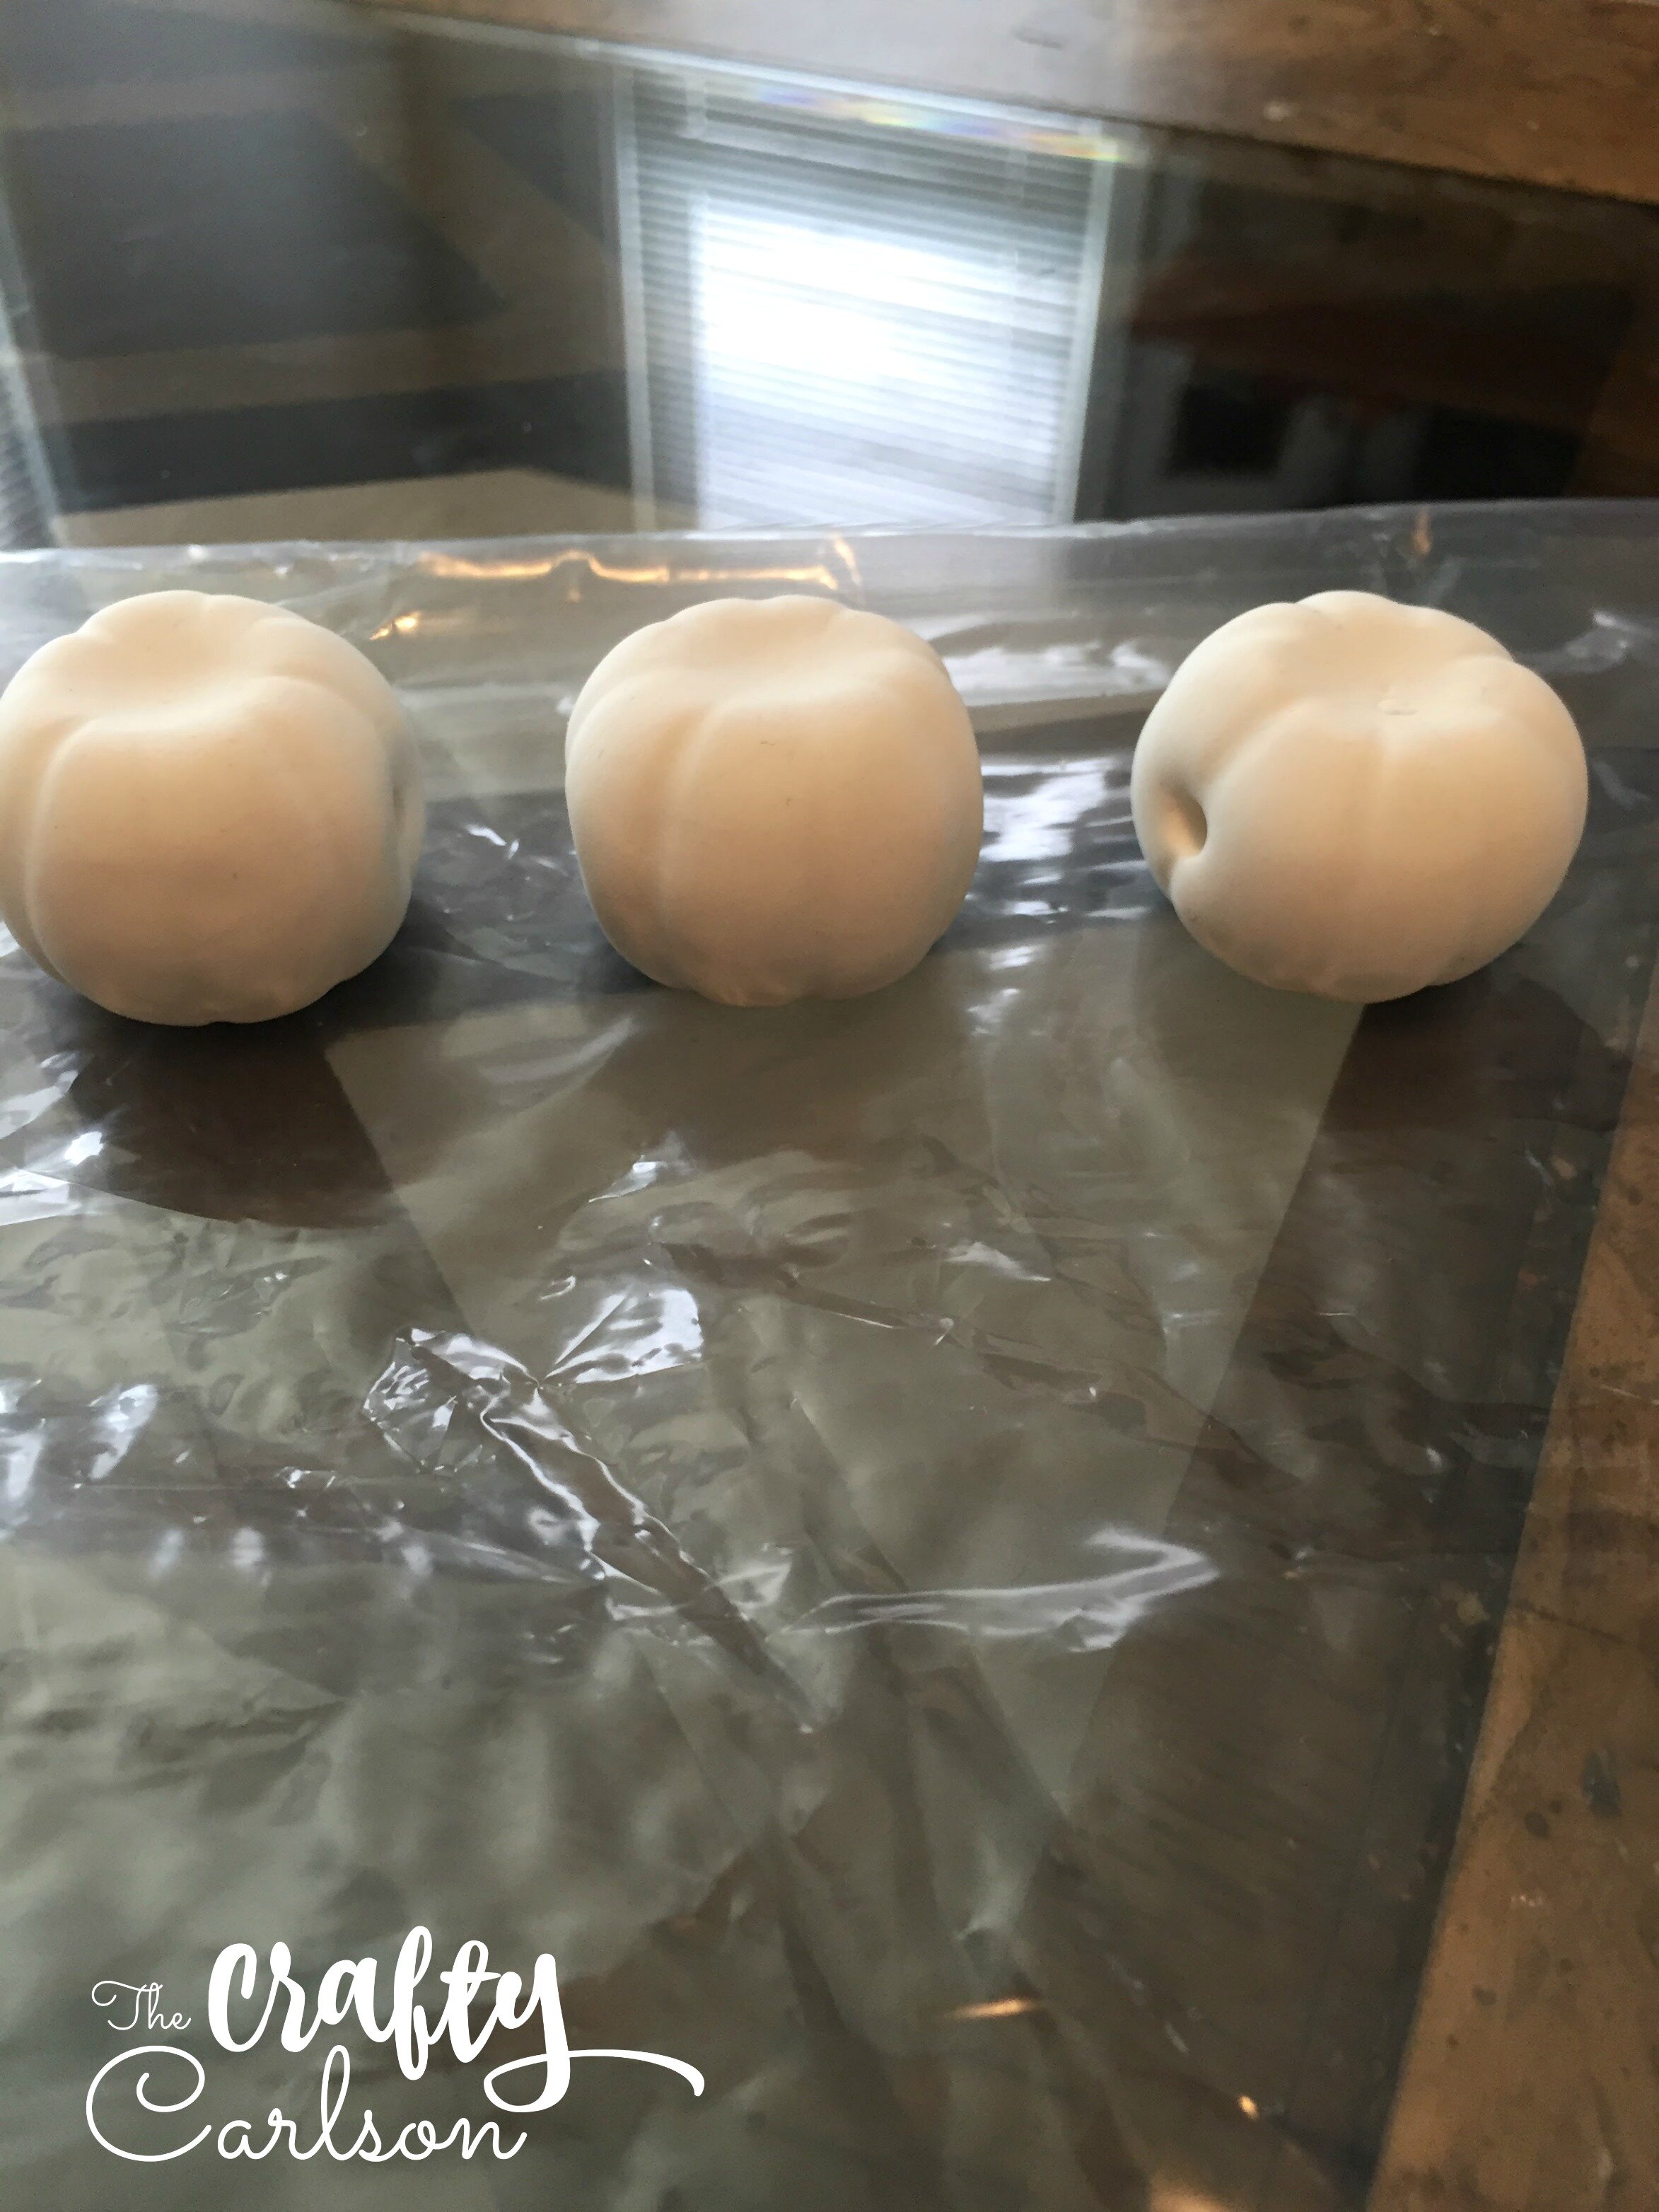
You should end up with a bunch of little pumpkins looking like this. Now you need to let them dry. I just let mine sit overnight, but they honestly would probably be good to go after a few hours. Just test them and see if they are set enough. You can tell by barely squishing one, and if it keeps its shape then it’s probably okay to start painting. Keep in mind that these will shrink a tiny bit as they dry. But it’s not enough for you to notice really. Especially if you aren’t making super tiny pumpkins.


Once the pumpkins are all dried up, then you will get to start painting them! I just used a pumpkiny orange paint and did two coats on each one. You could do them however you wanted to! I think they would be super cute gold and white. I really think I might have to make a few more of these and test out all the other ideas I have in my head….

To help them dry evenly, I just stuck them on the end of a skewer and put that inside a container. It worked great!
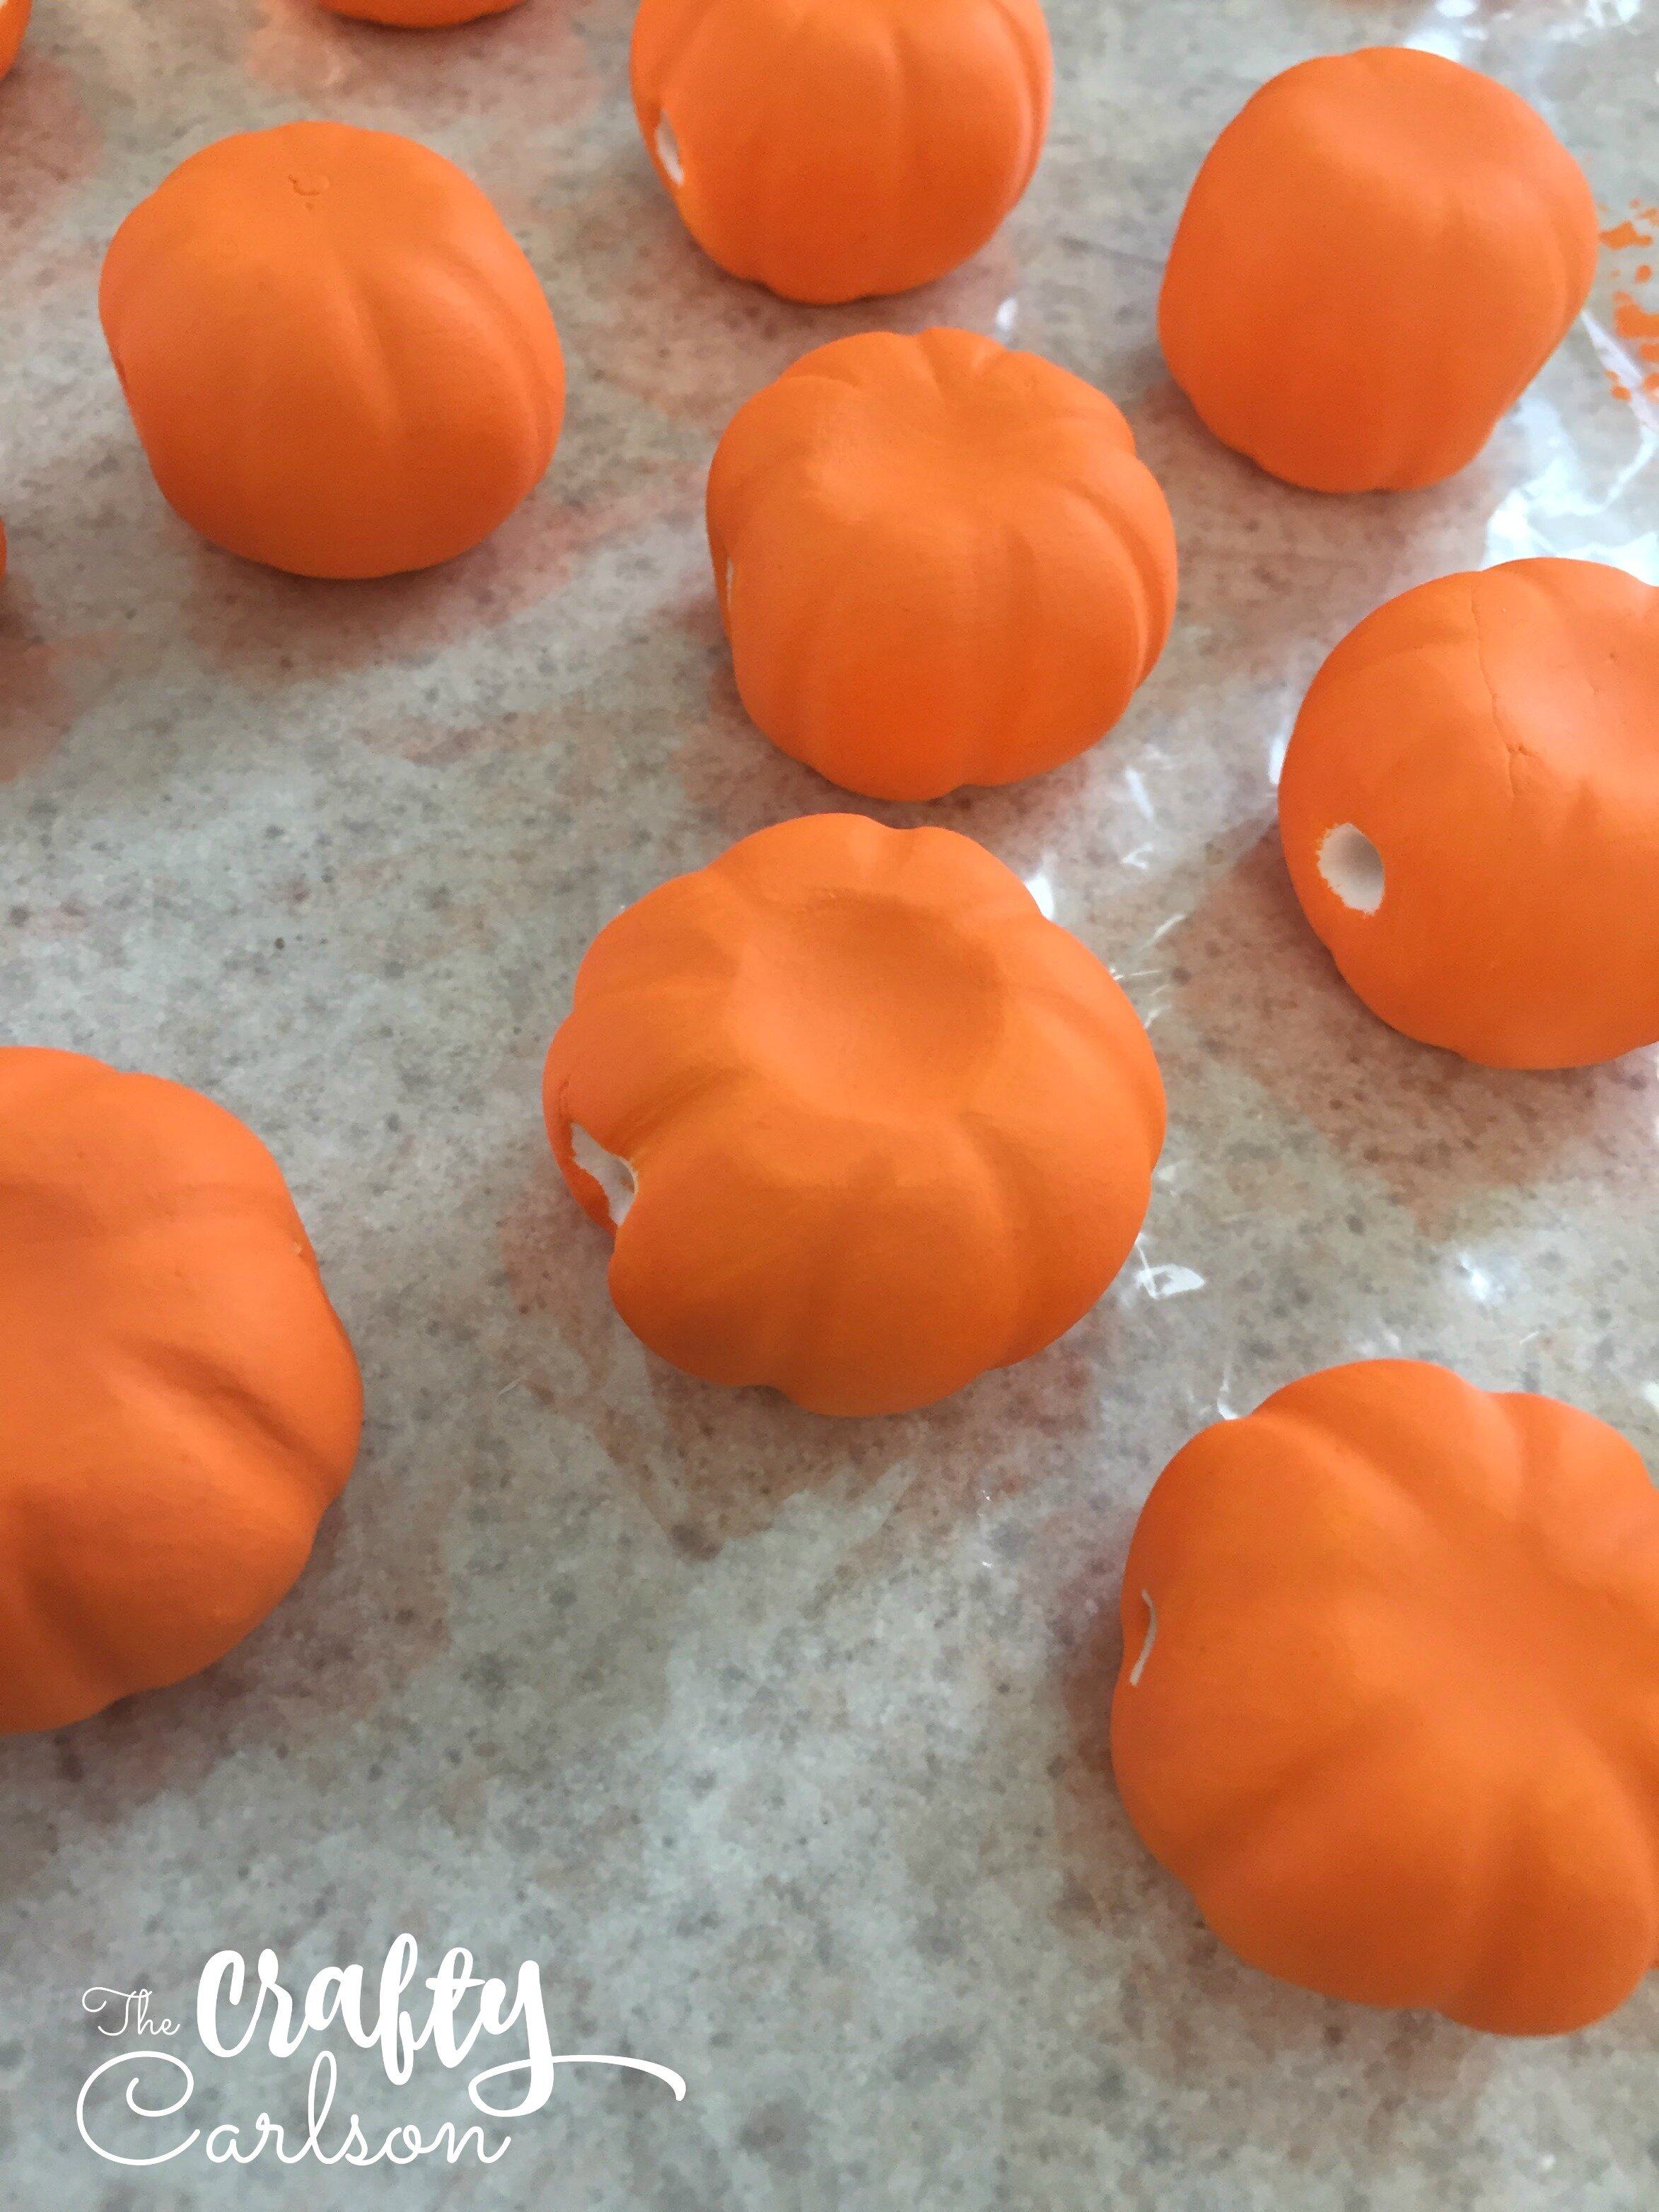
This is what you should end up with once you are finished painting your little pumpkins! It’s like an adorable little clay pumpkin patch. Now all they need are some stems and leaves.

I used tiny pom poms for the stem and leaves. To attach them, I just hot glued a brown one and two green ones to the top of each pumpkin.
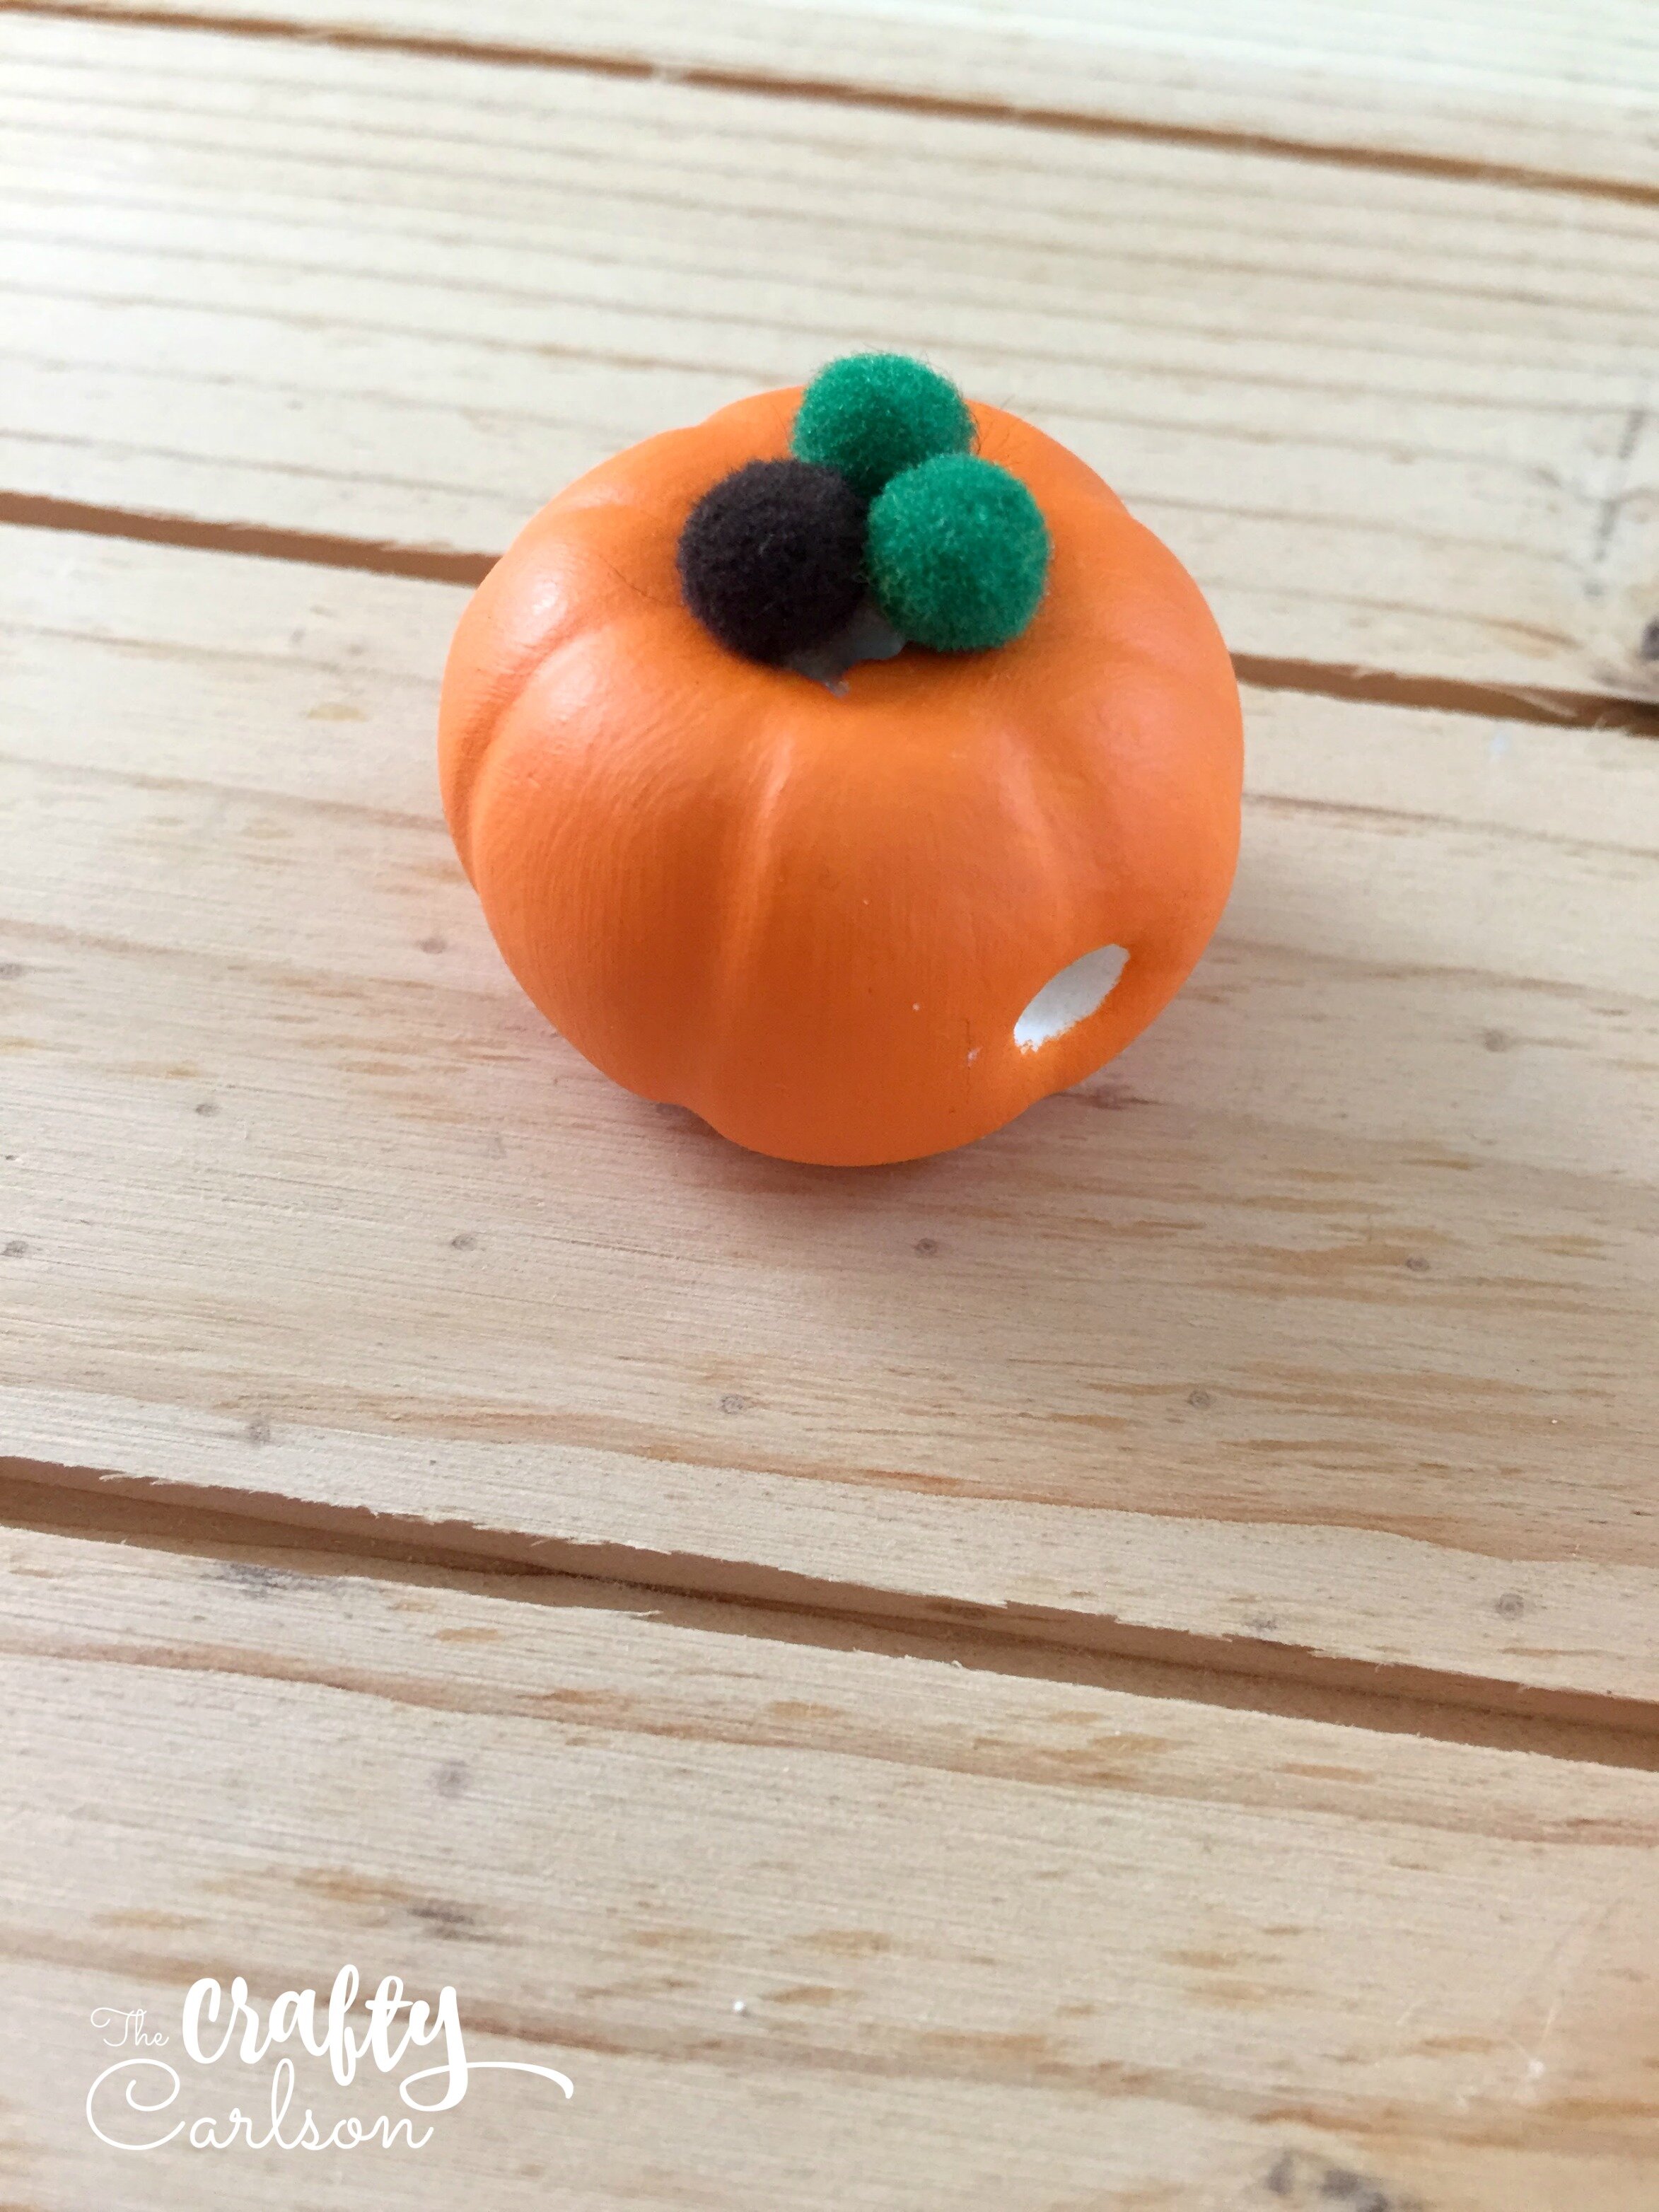
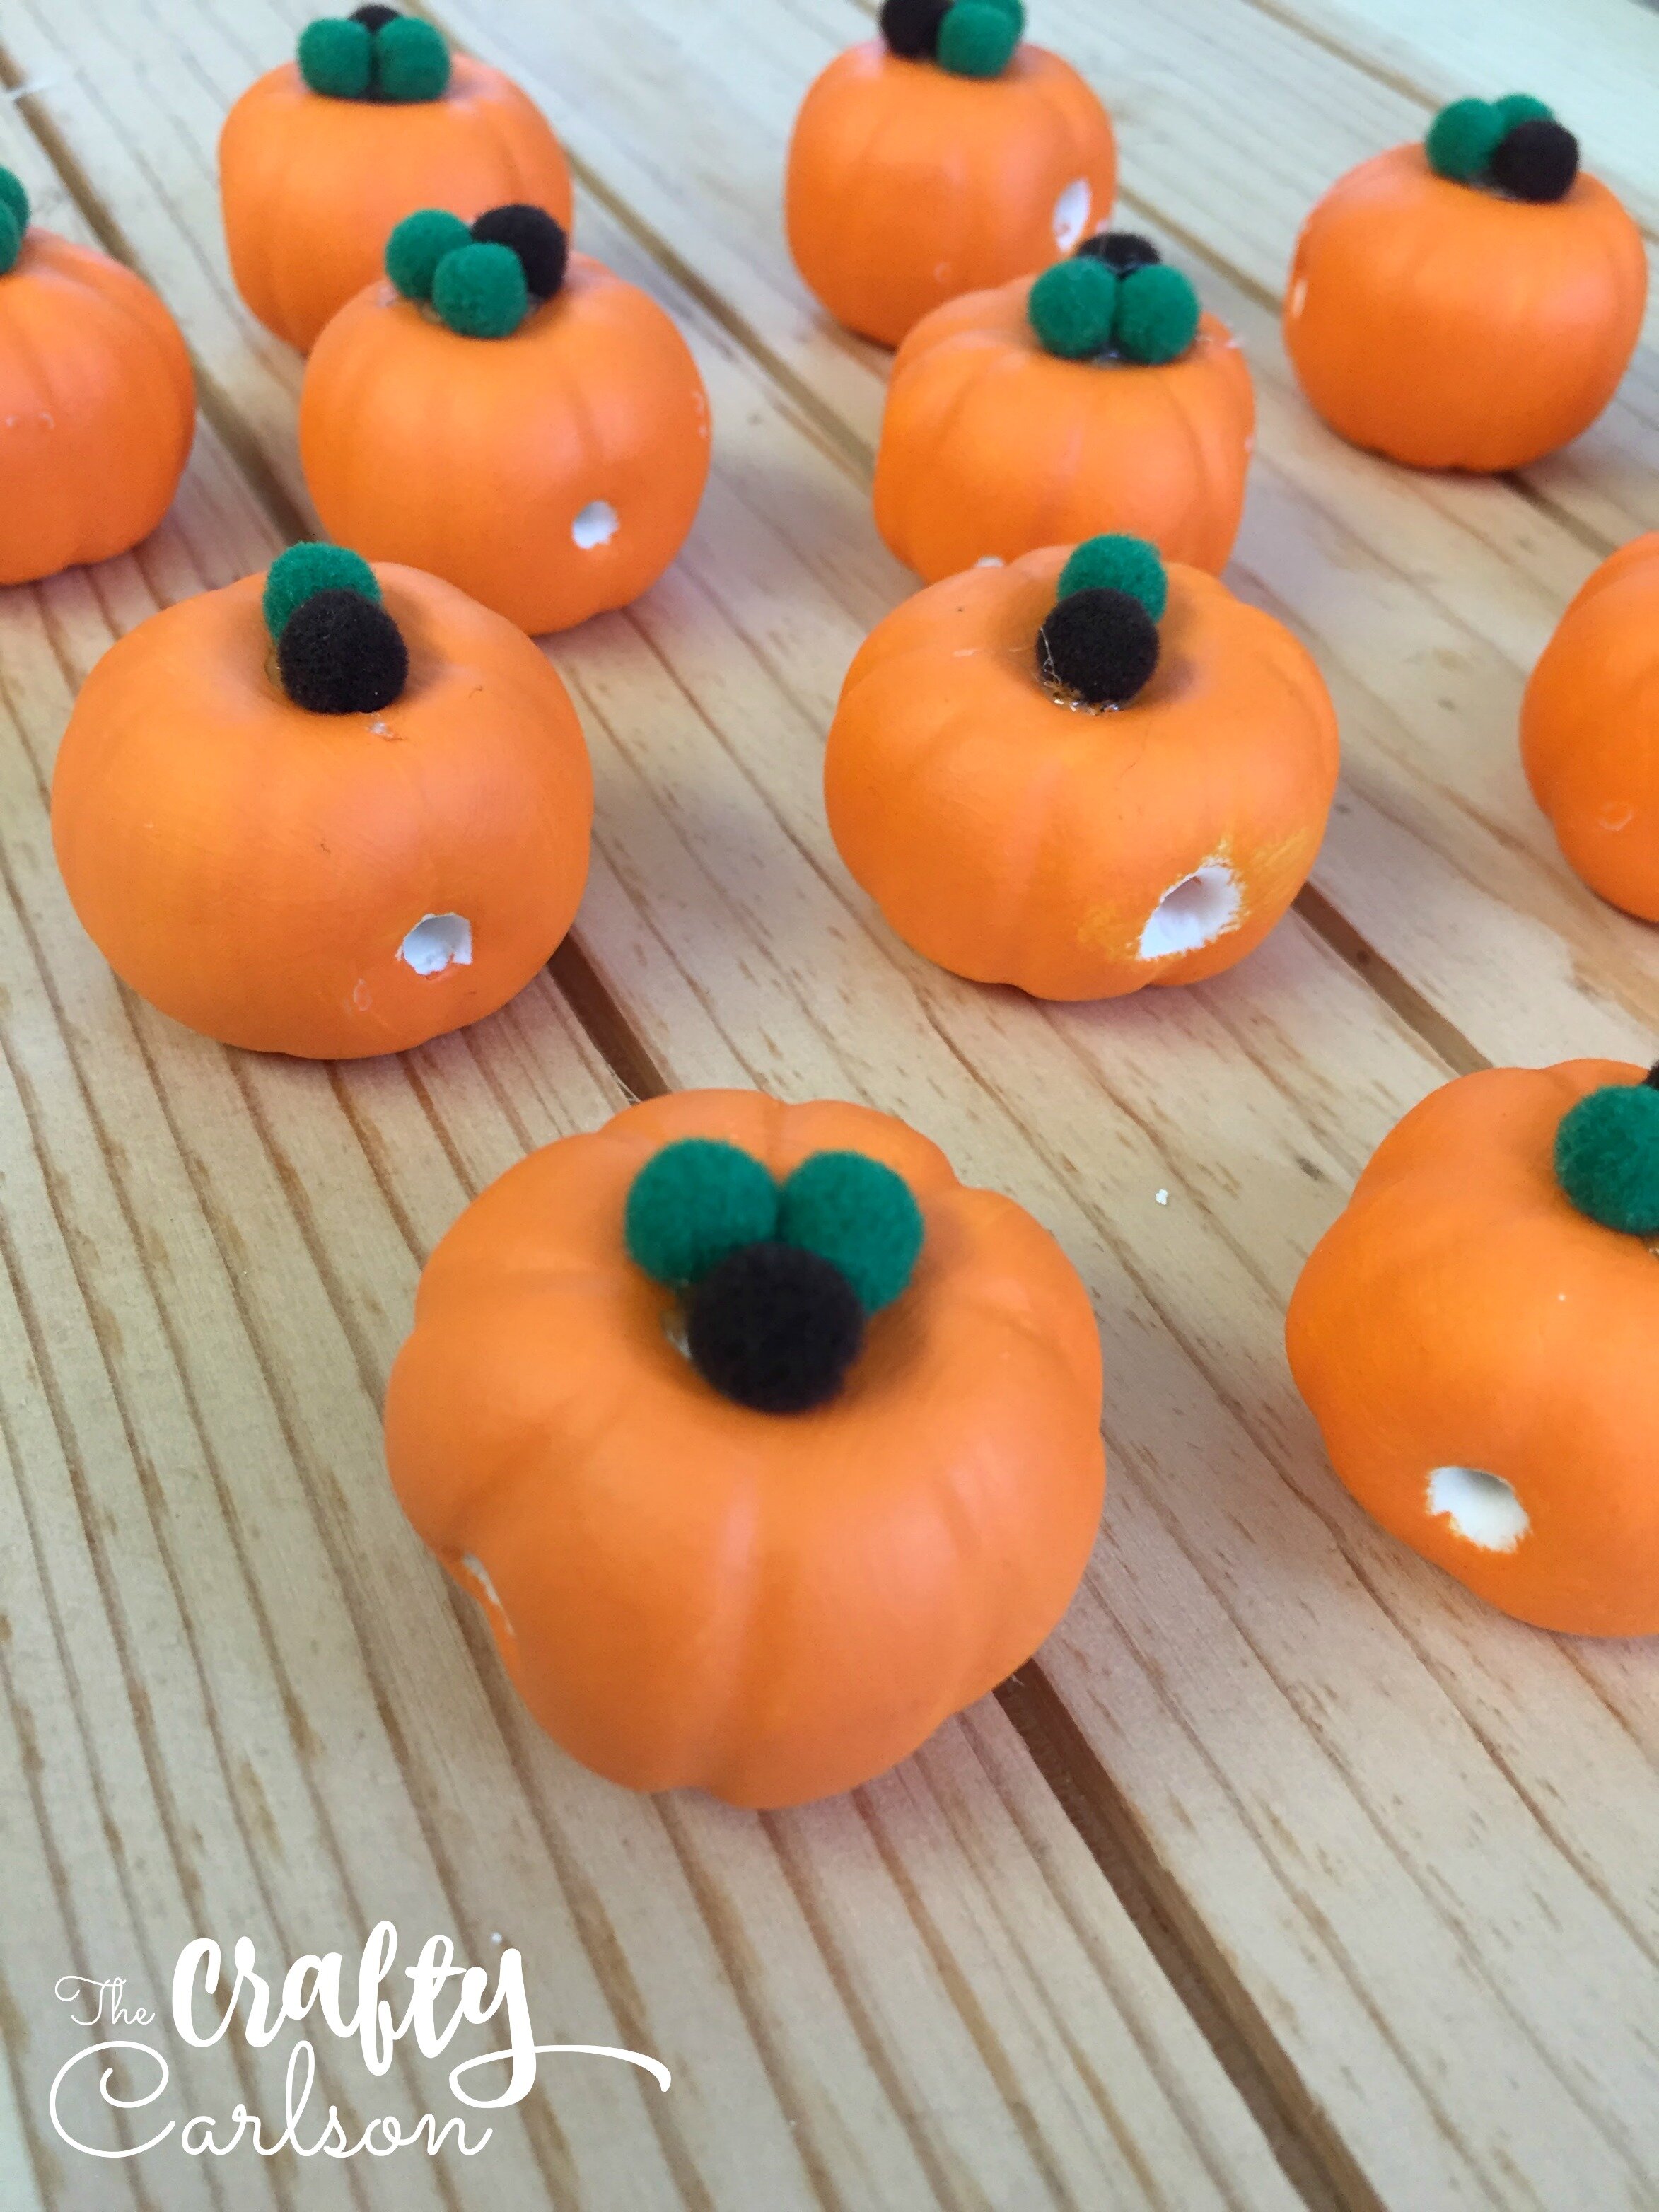
Here’s how they look all finished up! Now all that’s left is putting them together as a garland.
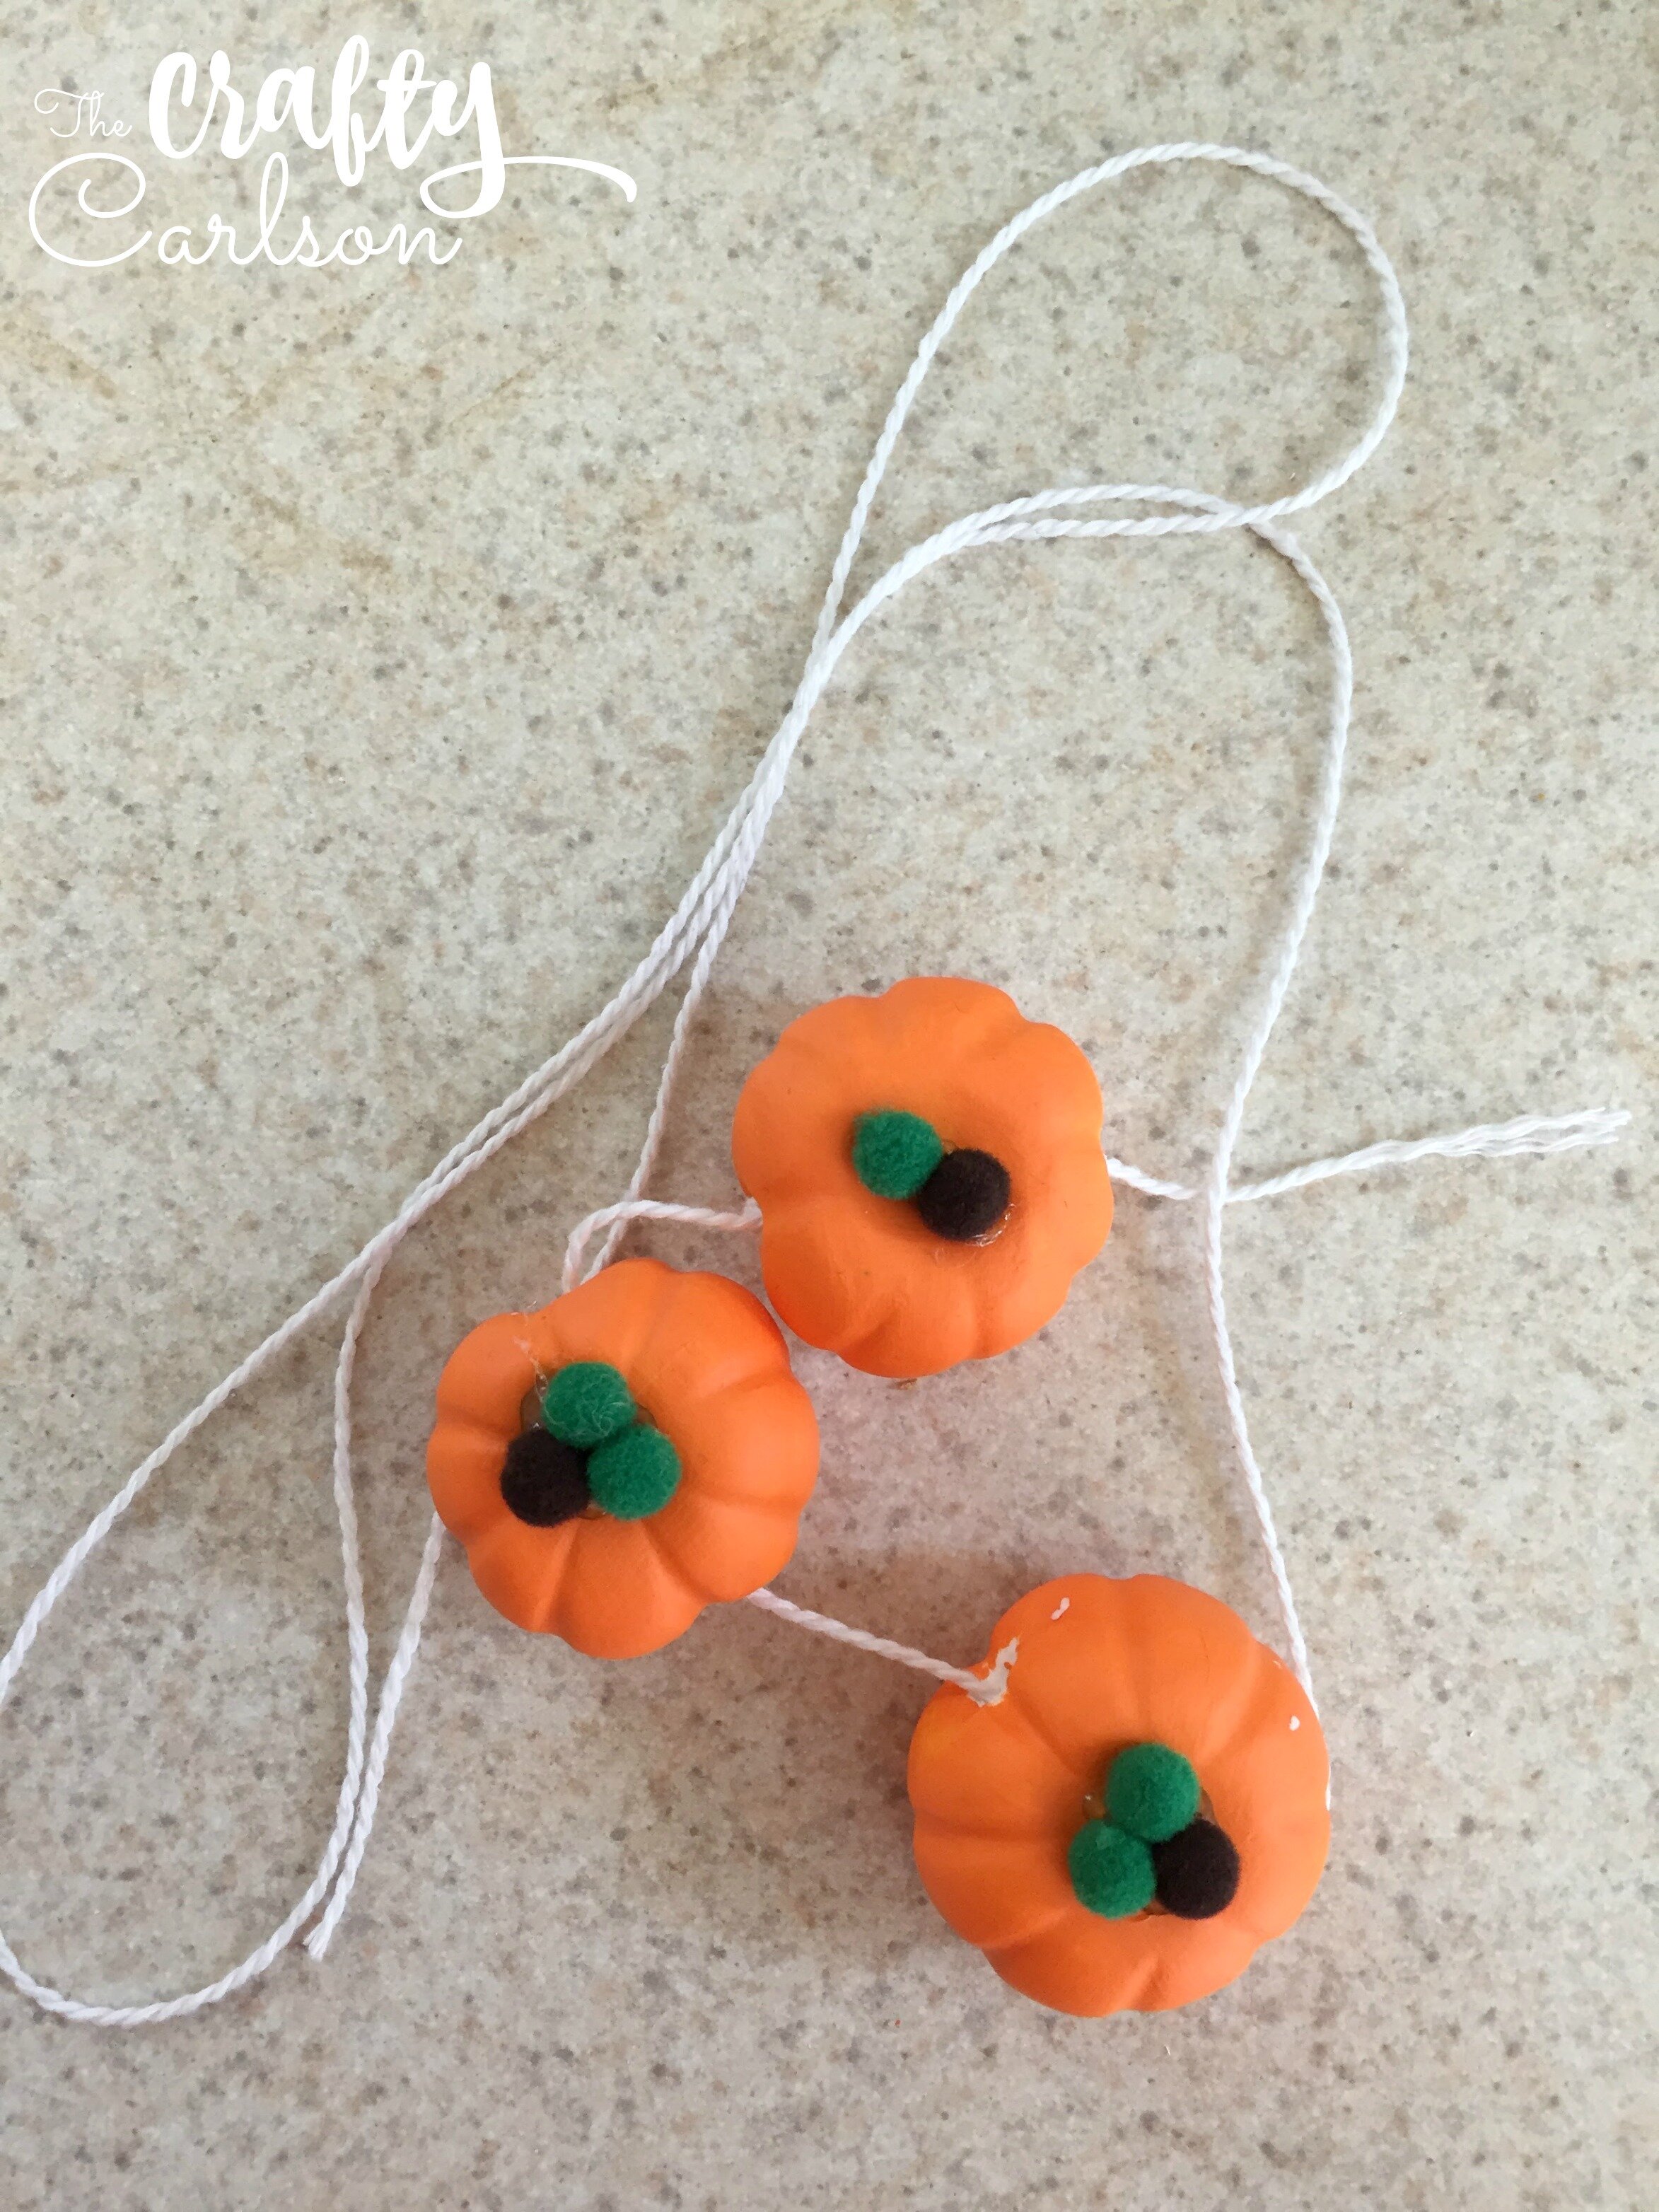
I used white twine and made sure to tie a knot at each end of the pumpkins so they wouldn’t move around when I hung it up.

And that’s it! After you get all the pumpkins strung, its ready to hang up!
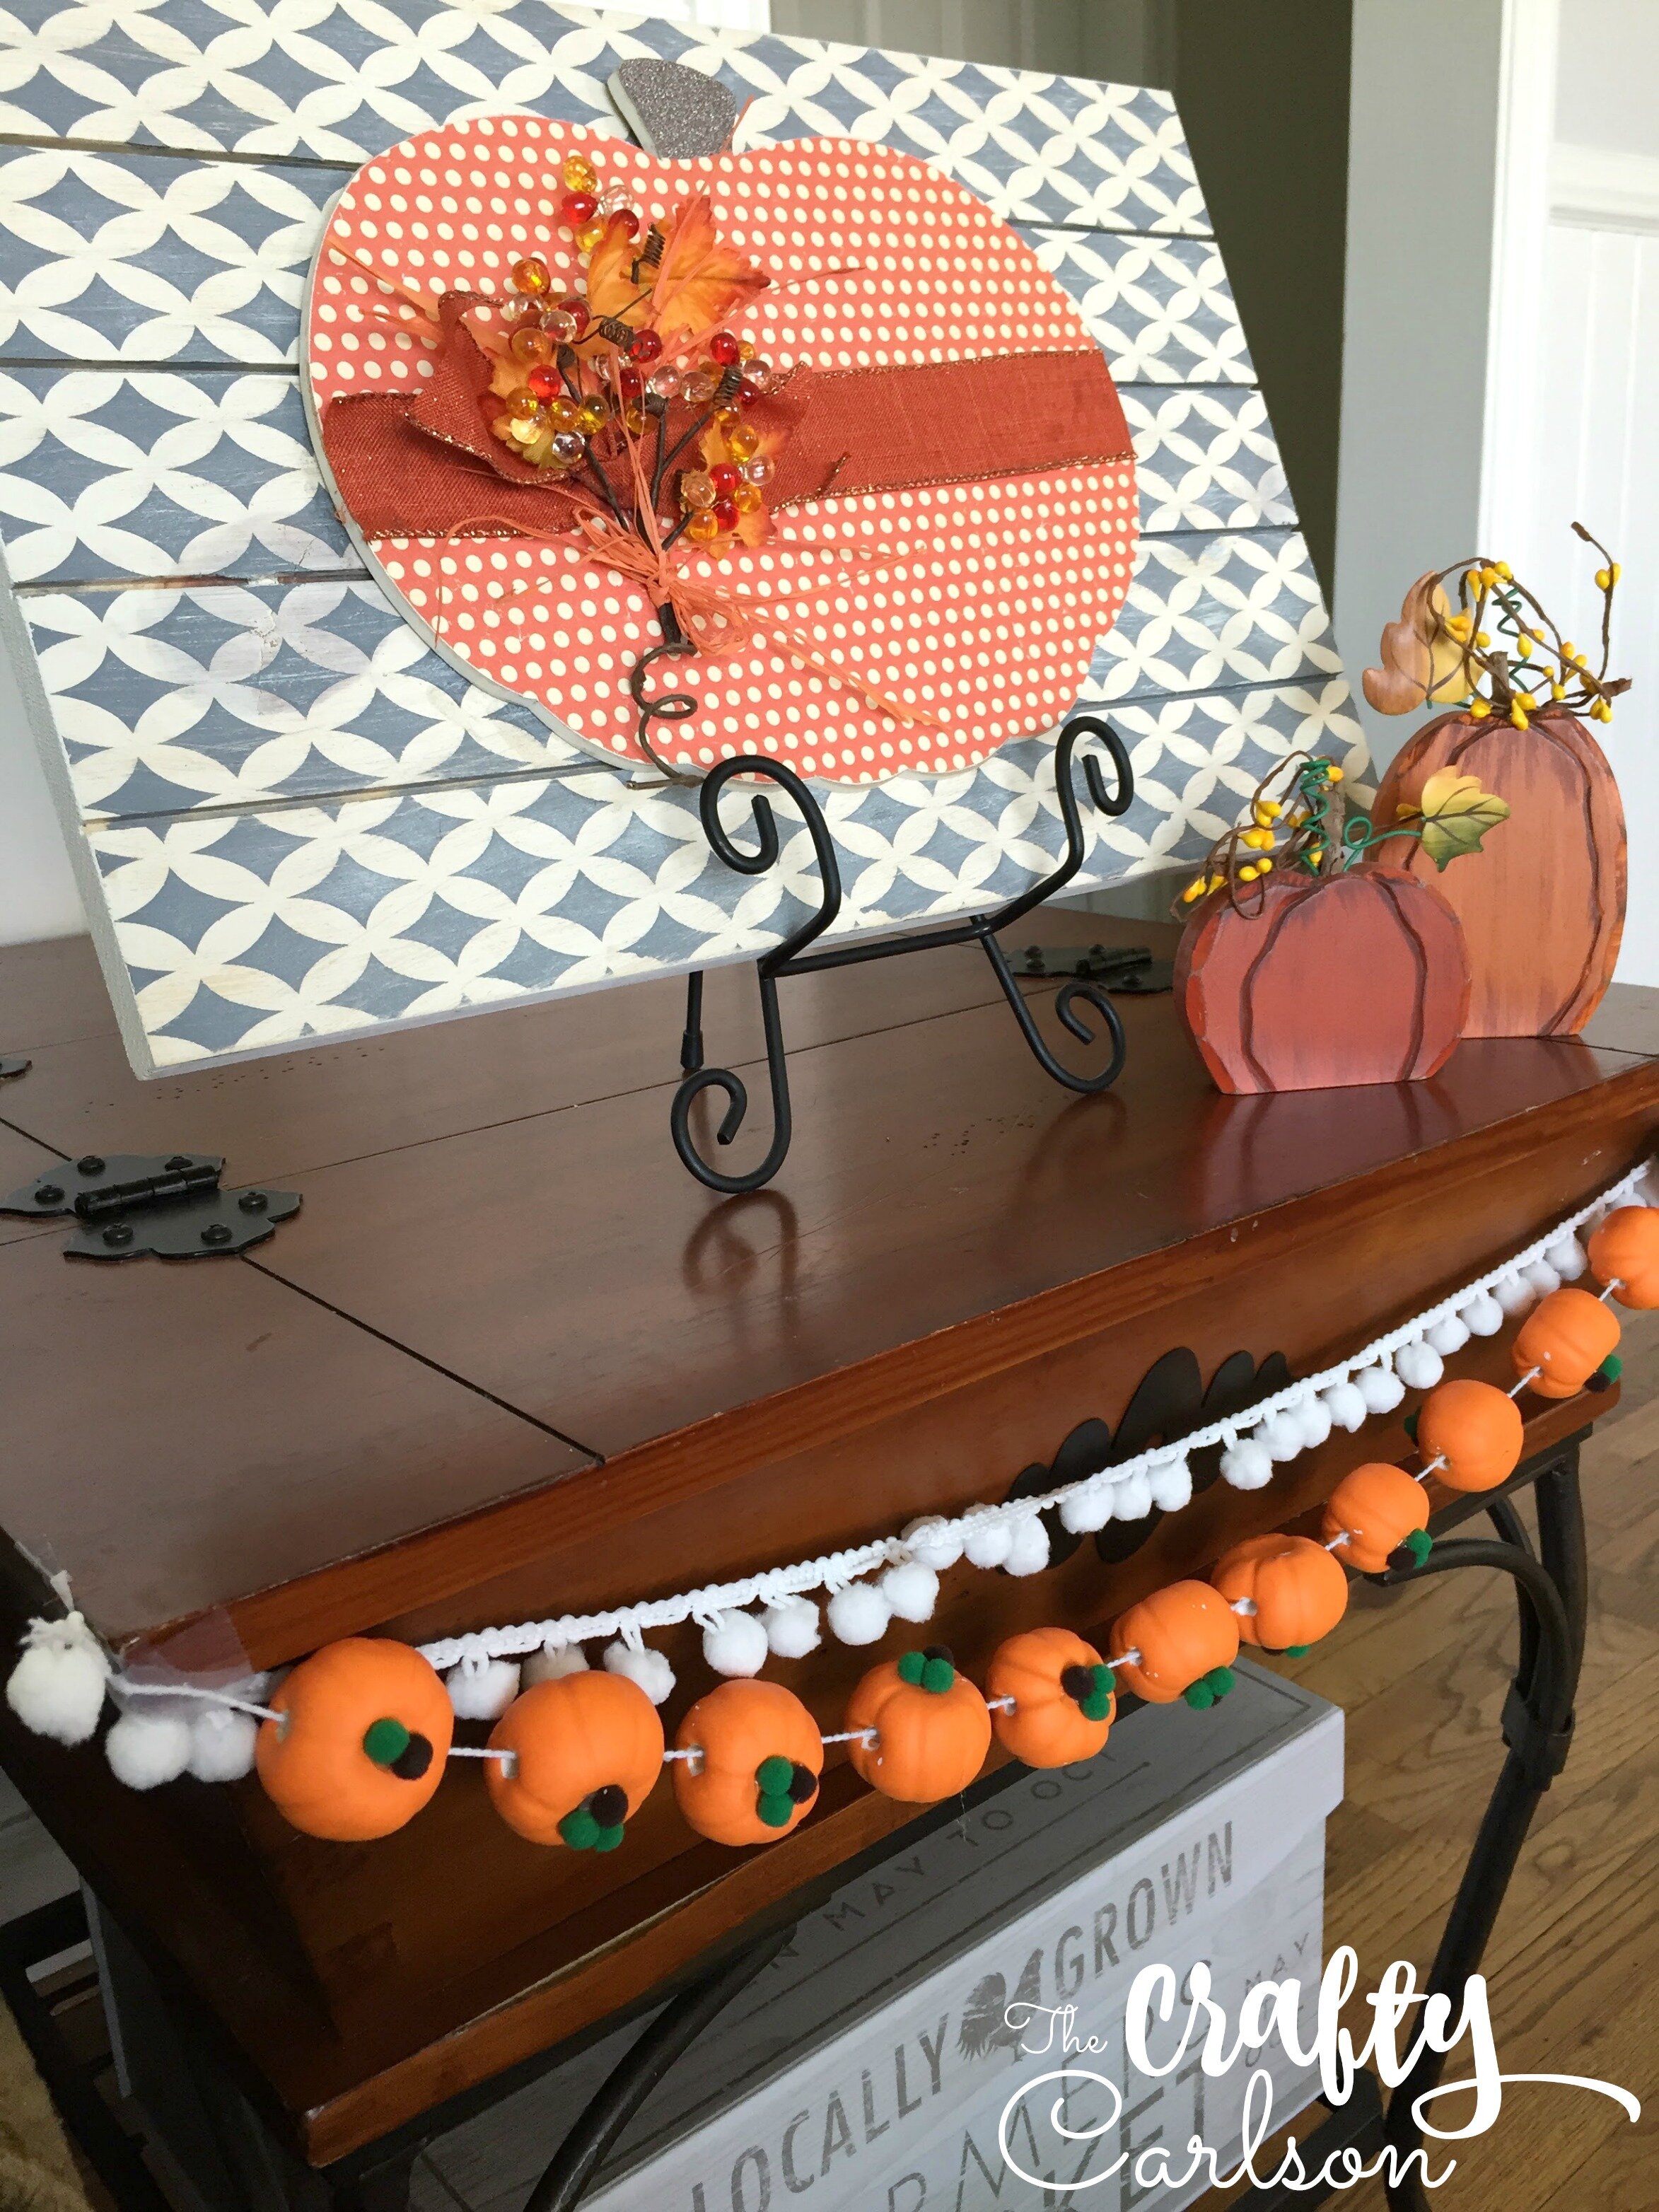
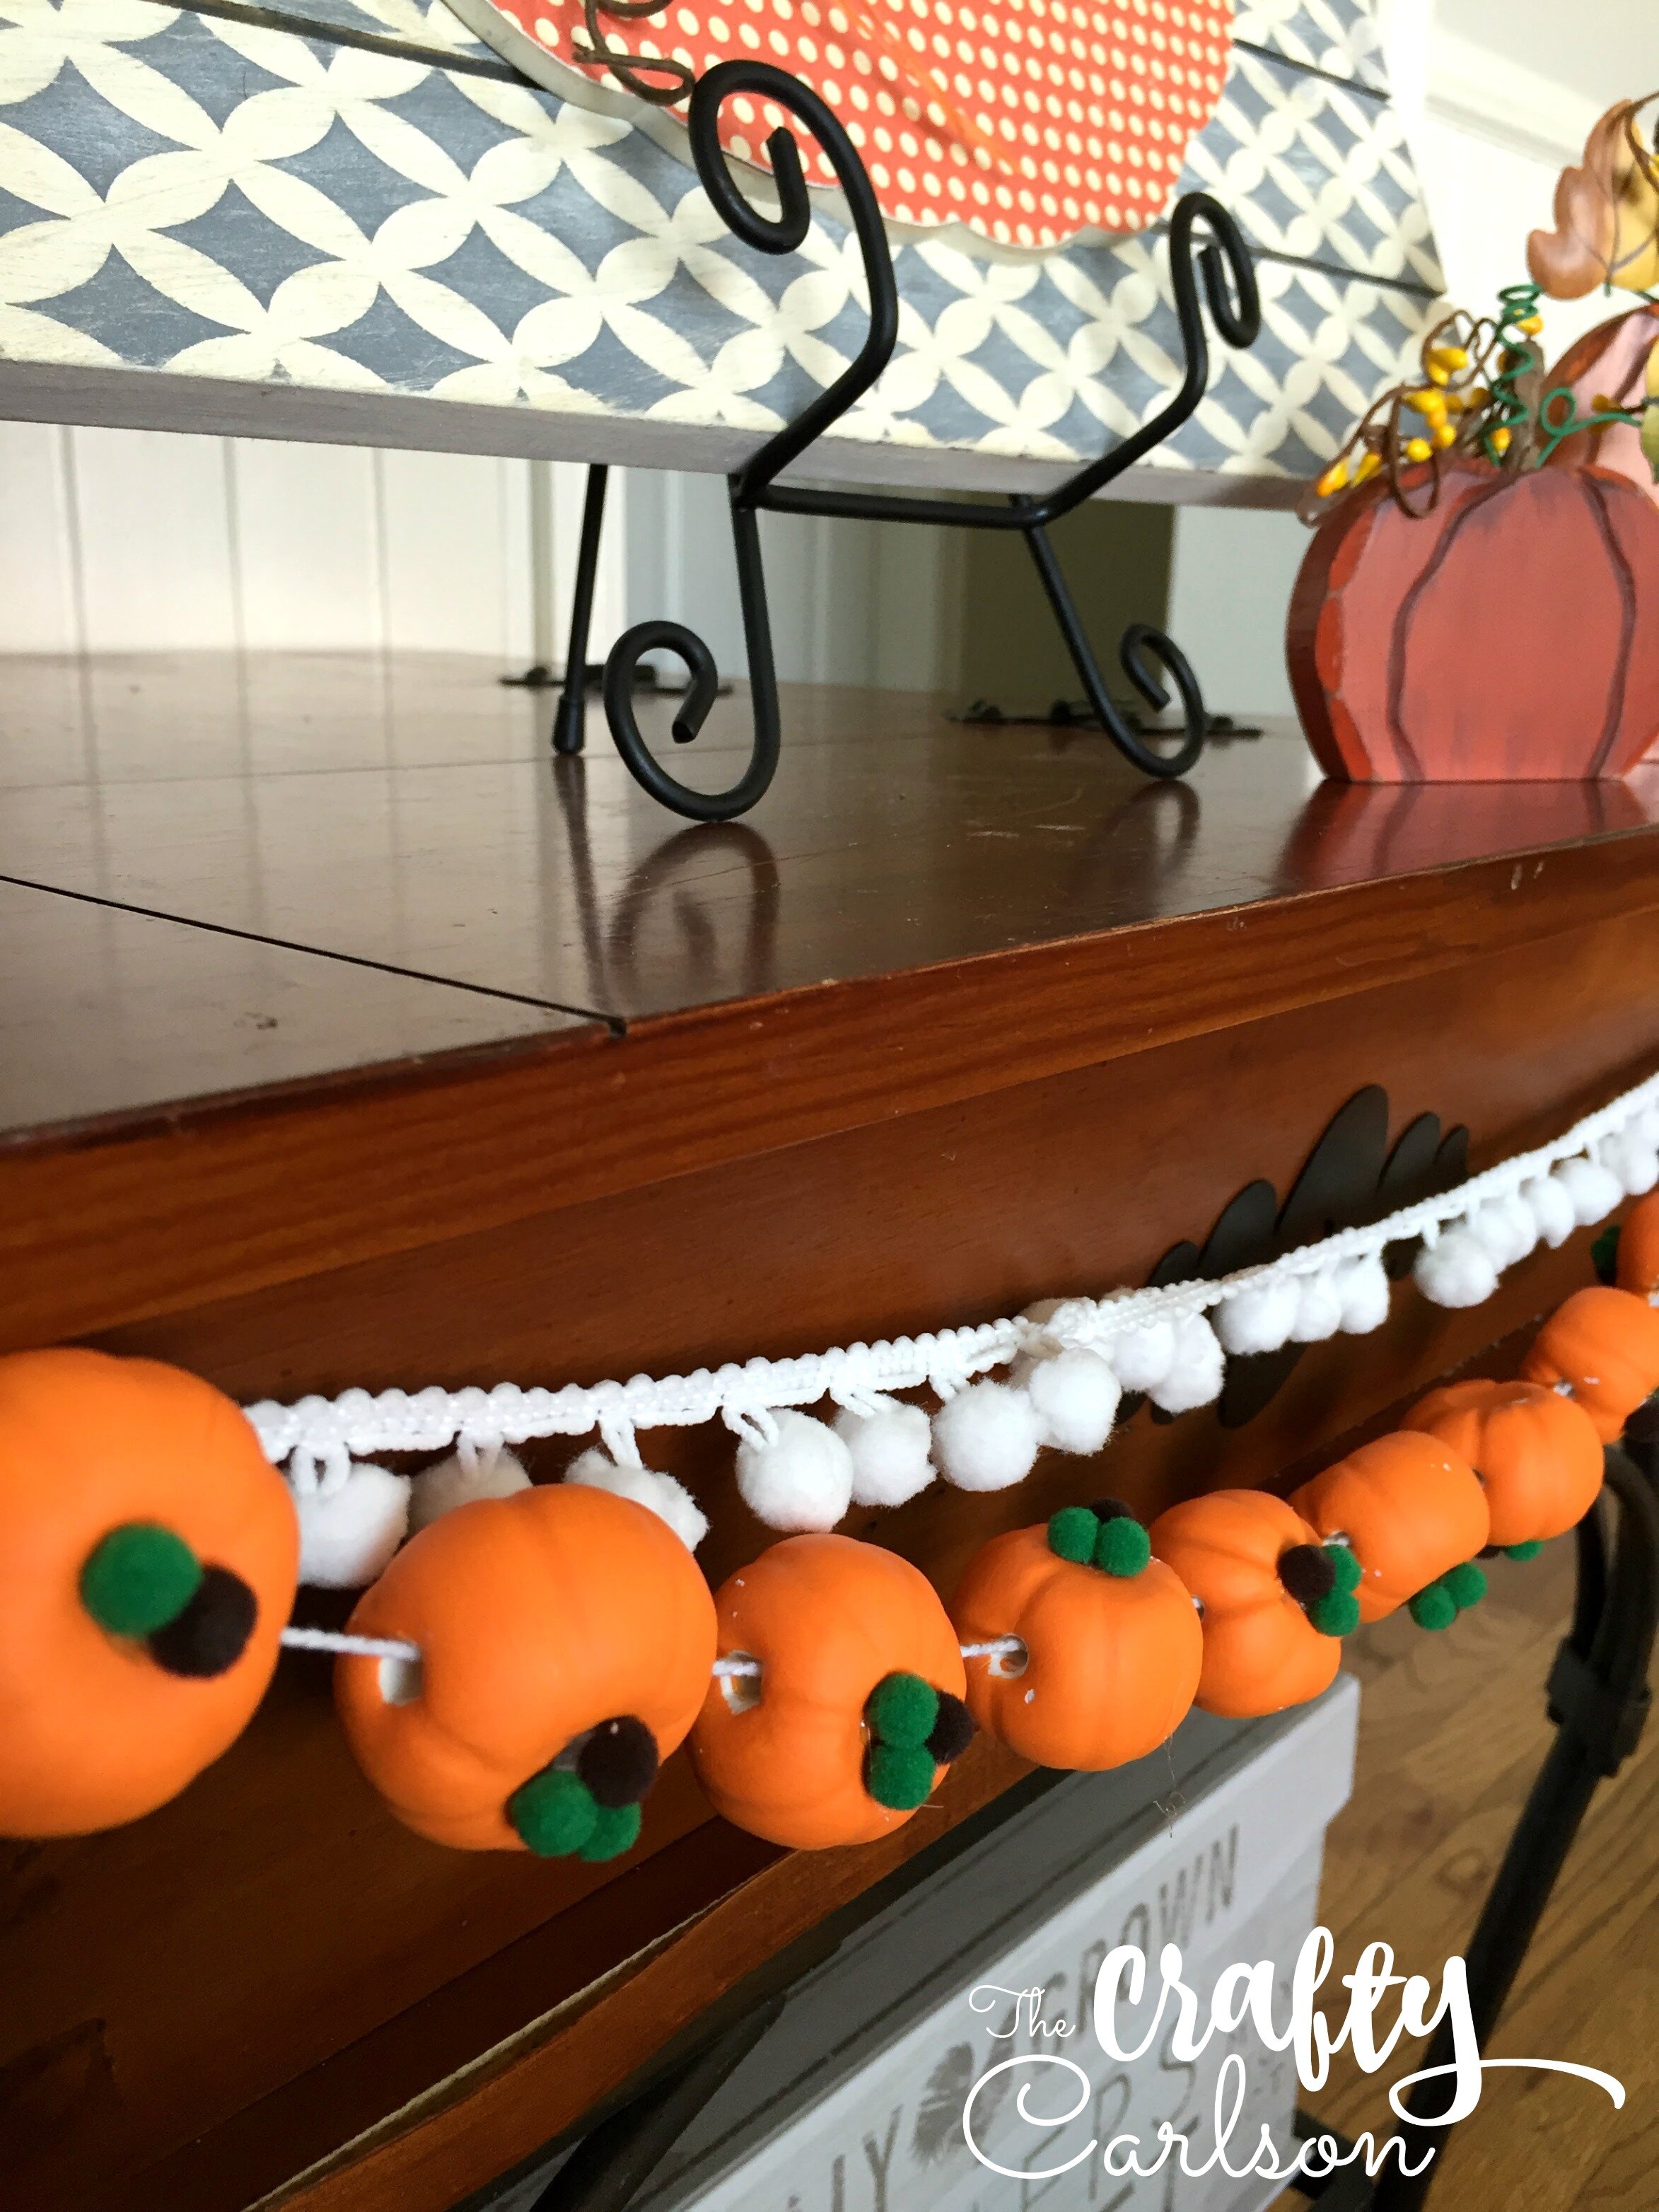
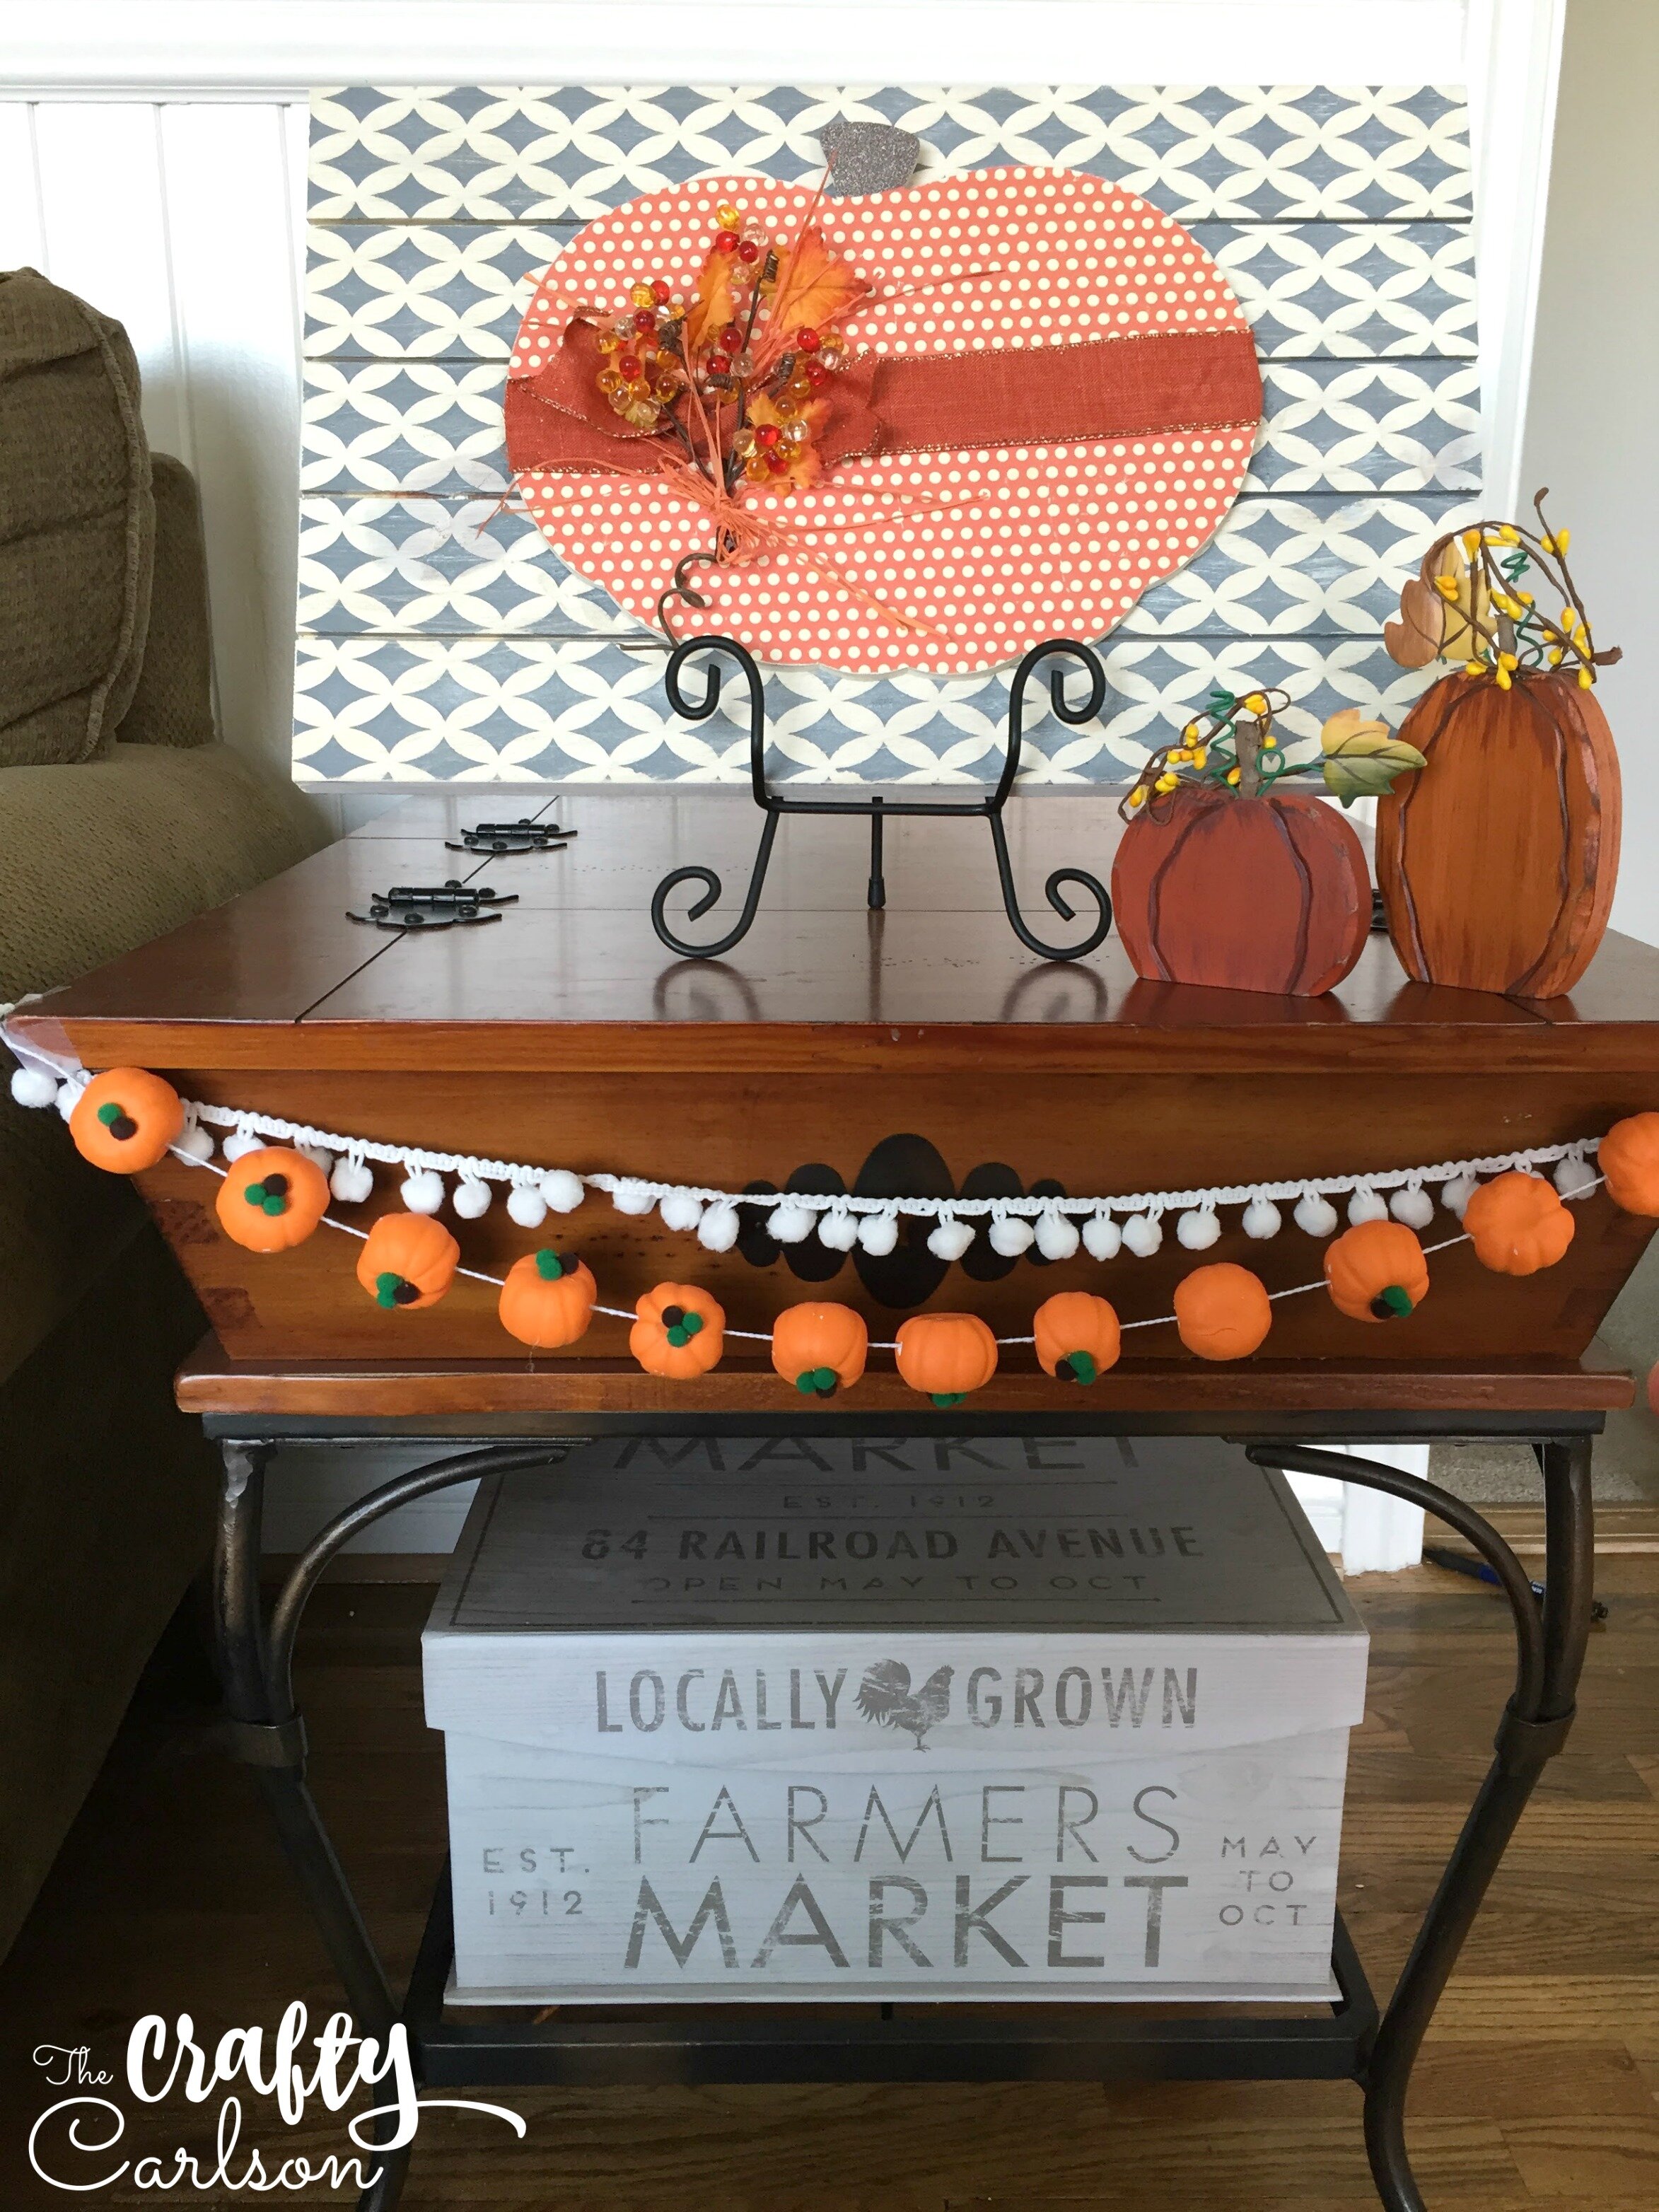
This was such a fun little project to make. It just makes me even more excited for fall to finally roll around! And just think of all the possibilities you have with this little garland. You can honestly paint them any color you wanted to match the rest of your fall decor. What do you think of my little pumpkin pallet? I made that years ago. The pumpkin actually comes off and is replaced by different overlays for each holiday! It’s one of my favorite decorations because the pallet can stay out all year. So easy!
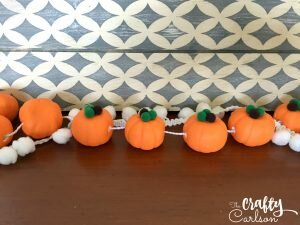
I hope you enjoyed this tutorial! I would love to see what you make! Tag me @thecraftycarlson on Instagram so I can see all your little pumpkin garlands. For more garland ideas, check out this watercolor clay bead tutorial I did for Craft-O-Maniac!
Thanks so much for stopping by.
Emily


What a perfect little garland! Pinning.
I am so glad you like it! It is a cute little craft.